Every OS X (macOS) 10.6 Snow Leopard Nature Desktop - in Glorious 5k Resolution
Recently, I converted every Abstract Desktop background that shipped with 10.6 Snow Leopard, in Every OS X Snow Leopard Abstract Desktop - in Glorious 5k and 8k Resolution after being inspired by the wonderful 512 Pixel's Every Default macOS Wallpaper – in Glorious 6K Resolution post. I hand touched up the photos besides upscaling, sharpening, smoothing/blurring, retexturing, denoising, graining depending on the photos. Some had weaker sources than others due to focus/compression etc. For a long explination of how I made these, scroll to the bottom.
The above is an excerpt on a video I'm working on about OS X Snow Leopard, the most beloved OS X/macOS release, but I have other opinions ;) If you are at all curious, you can check out the Apple related vids I've made on the YouTubes.
All the photos are in their original 16:10, in the 5k (if there's such a resolution) 5120 x 3200 as I wanted users to be able to position the desktops as they see fit. Also adding Light / Dark desktops as I have time.
The iPhone wallpaper versions are 2000 x 2778 which should give wiggle room to position the backgrounds, see Apple'sChange the wallpaper on your iPhone for instructions on how to set your iPhone wallpaper.
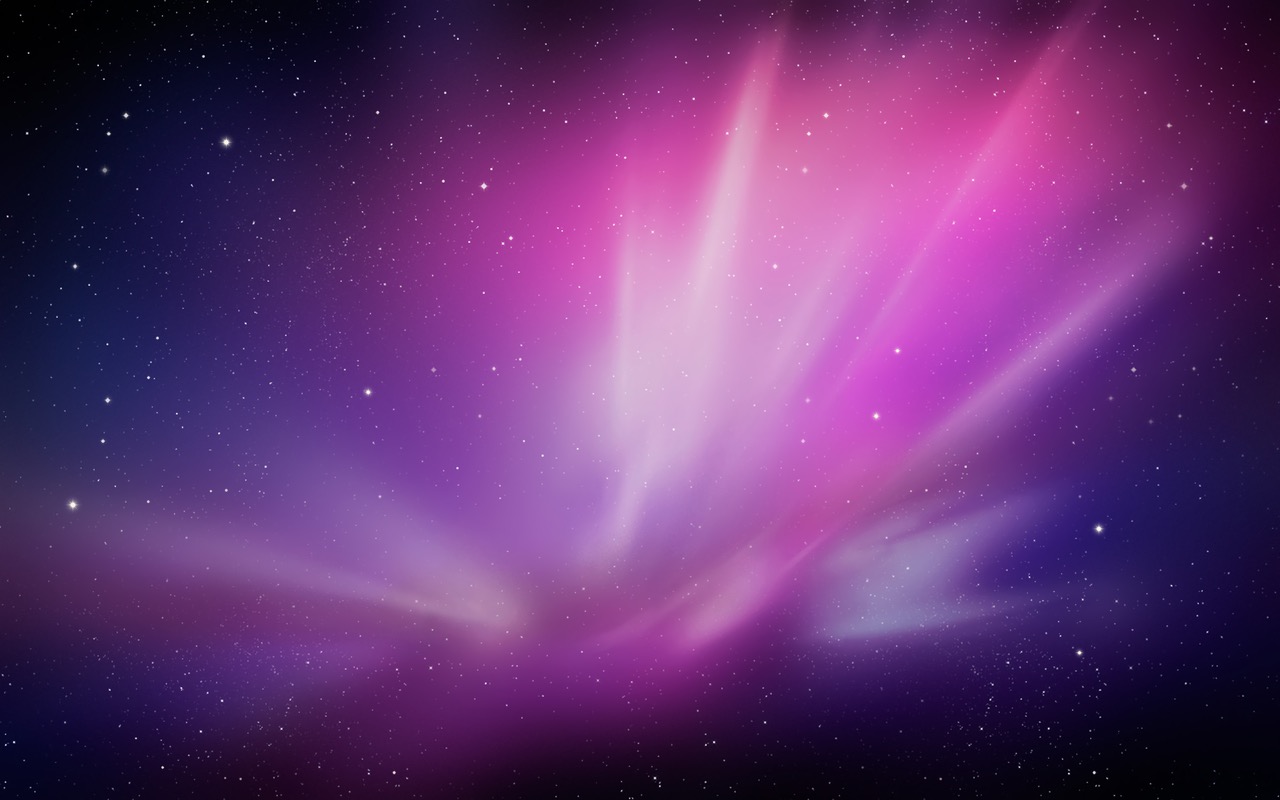
Aurora
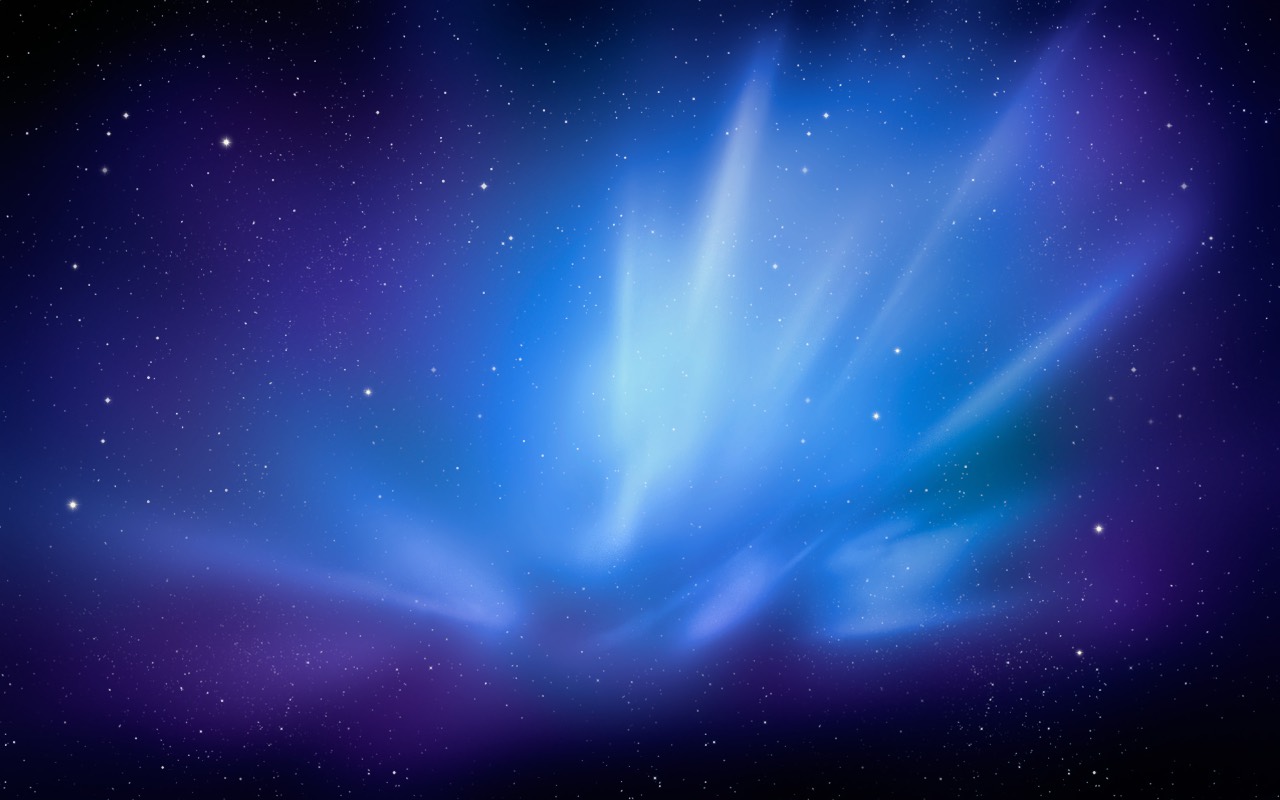
Aurora Blue
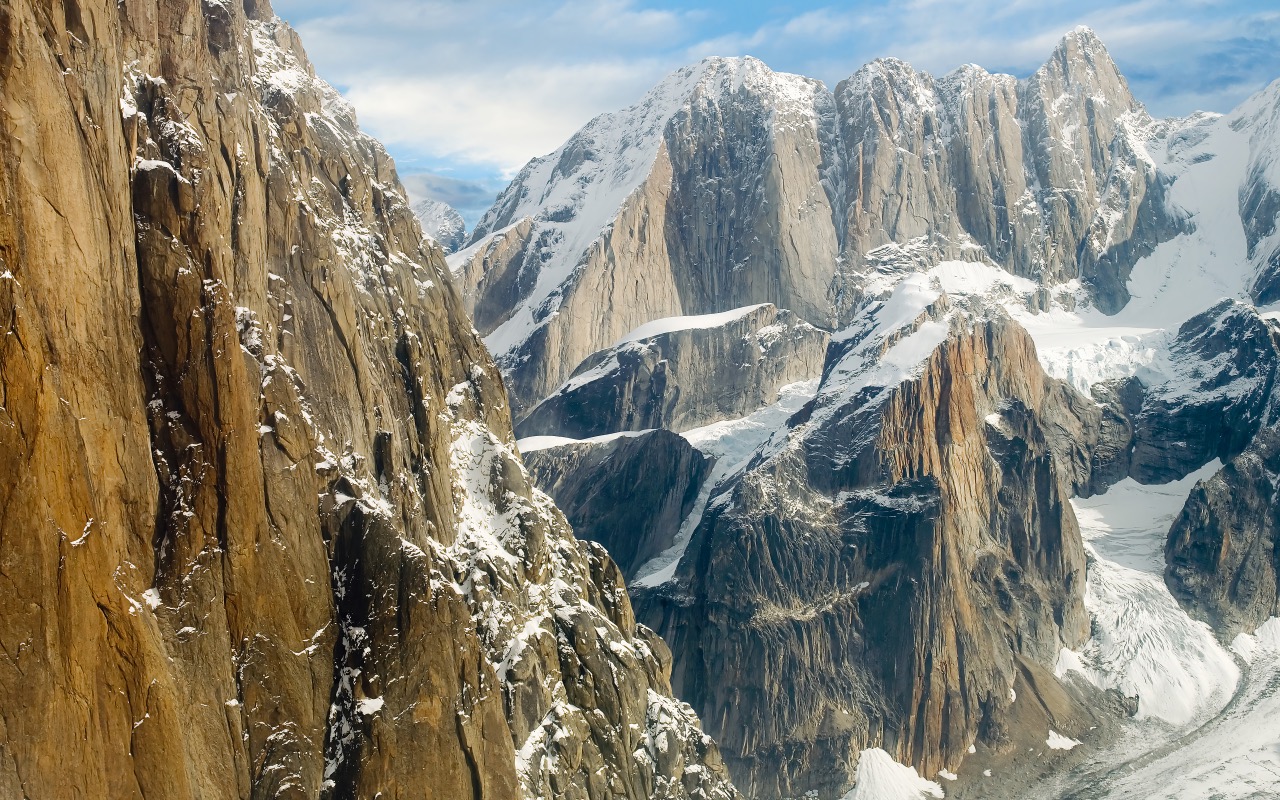
Cirques
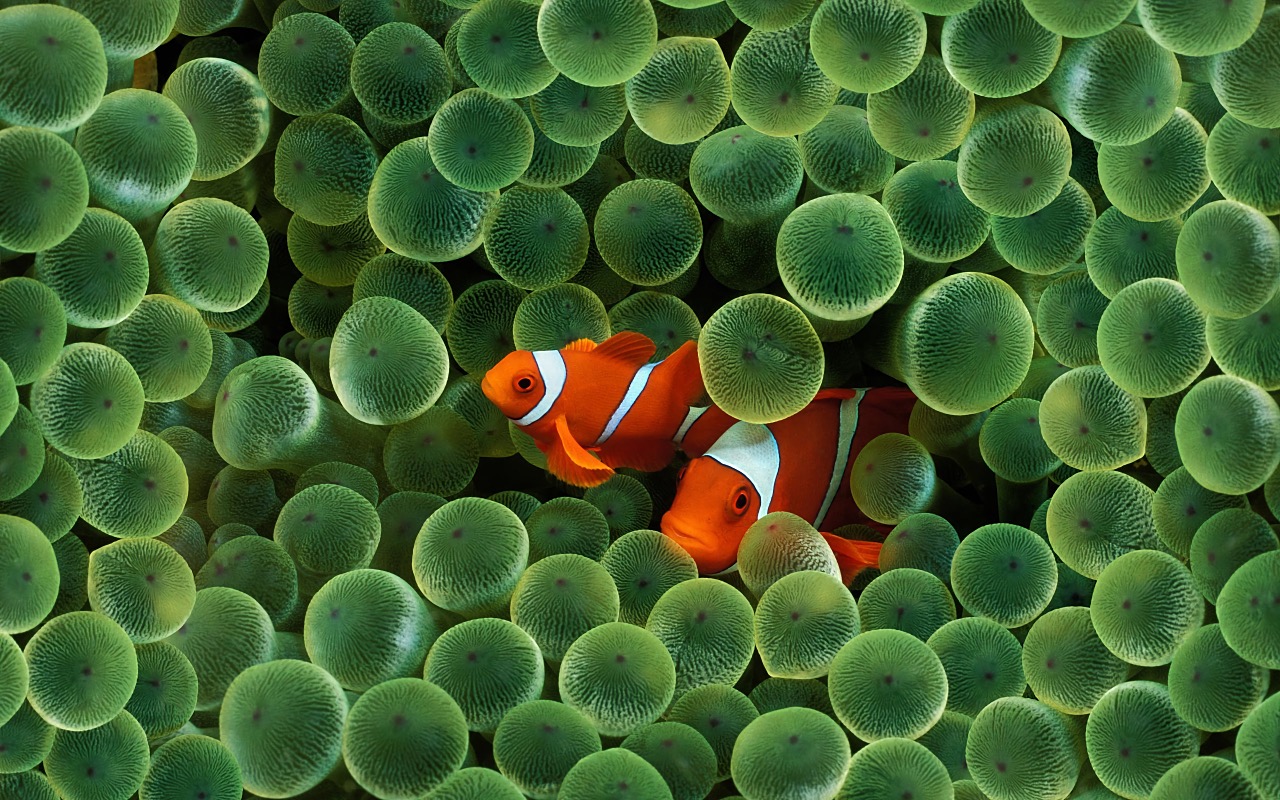
Clownfish
Dew Drop
Earth
Earth Horizon
Download Earth Horizon (iPhone)
Evening Reflections
Download Evening Reflections (iPhone)
Flowing Rock
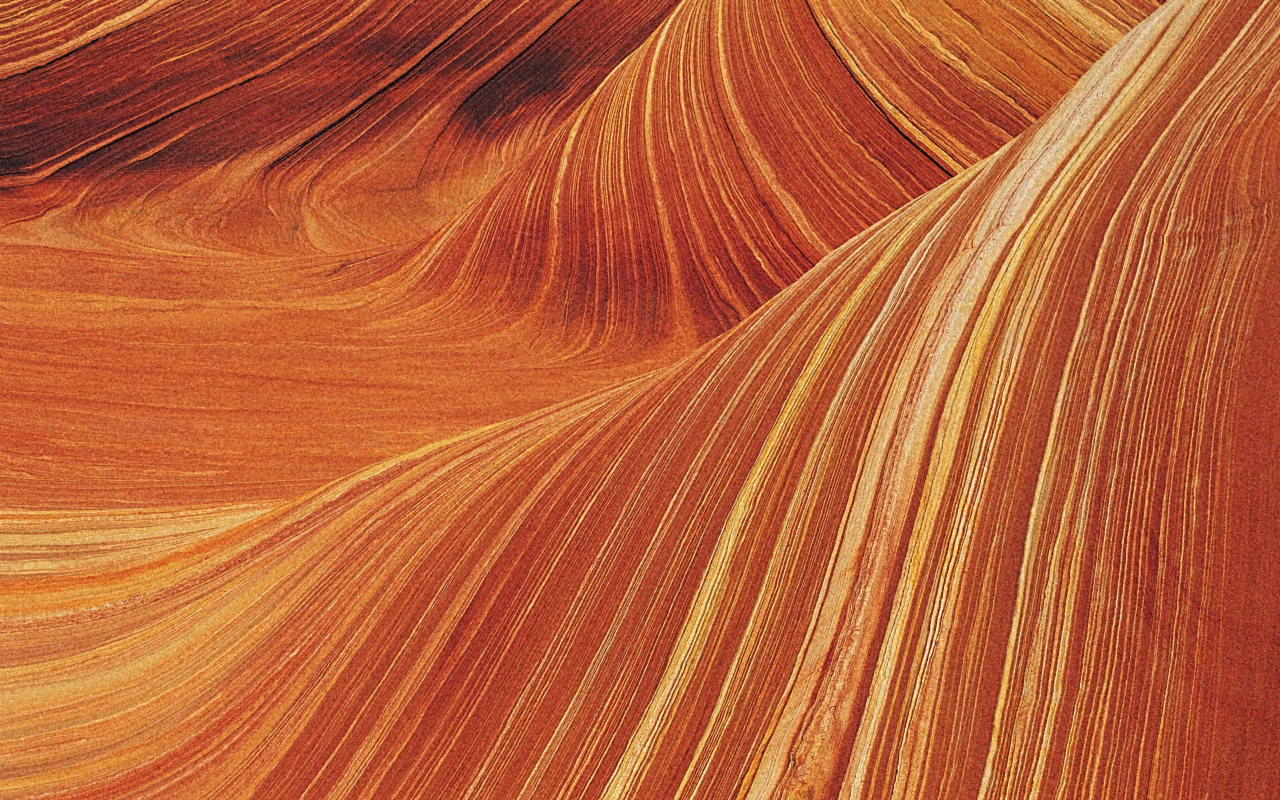
Gentle Rapids
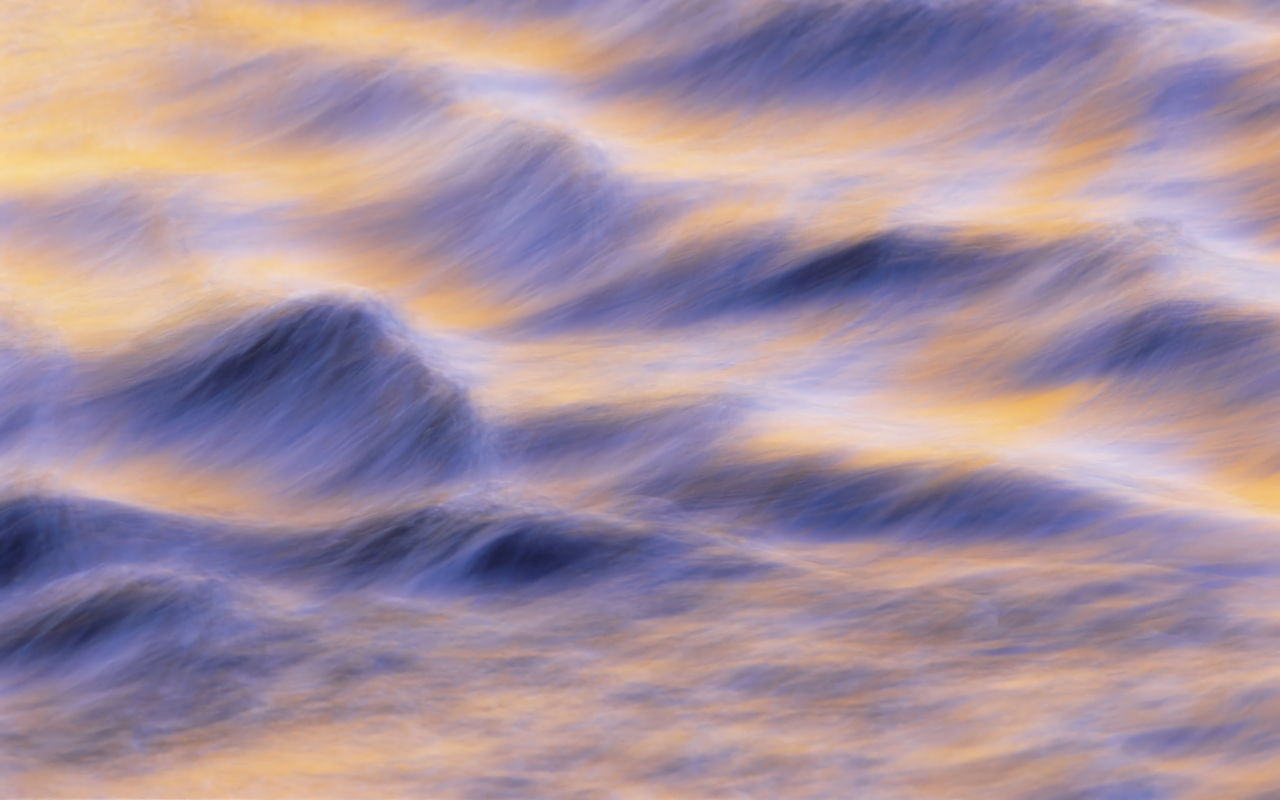
Download Gentle Rapids (iPhone)
Golden Palace
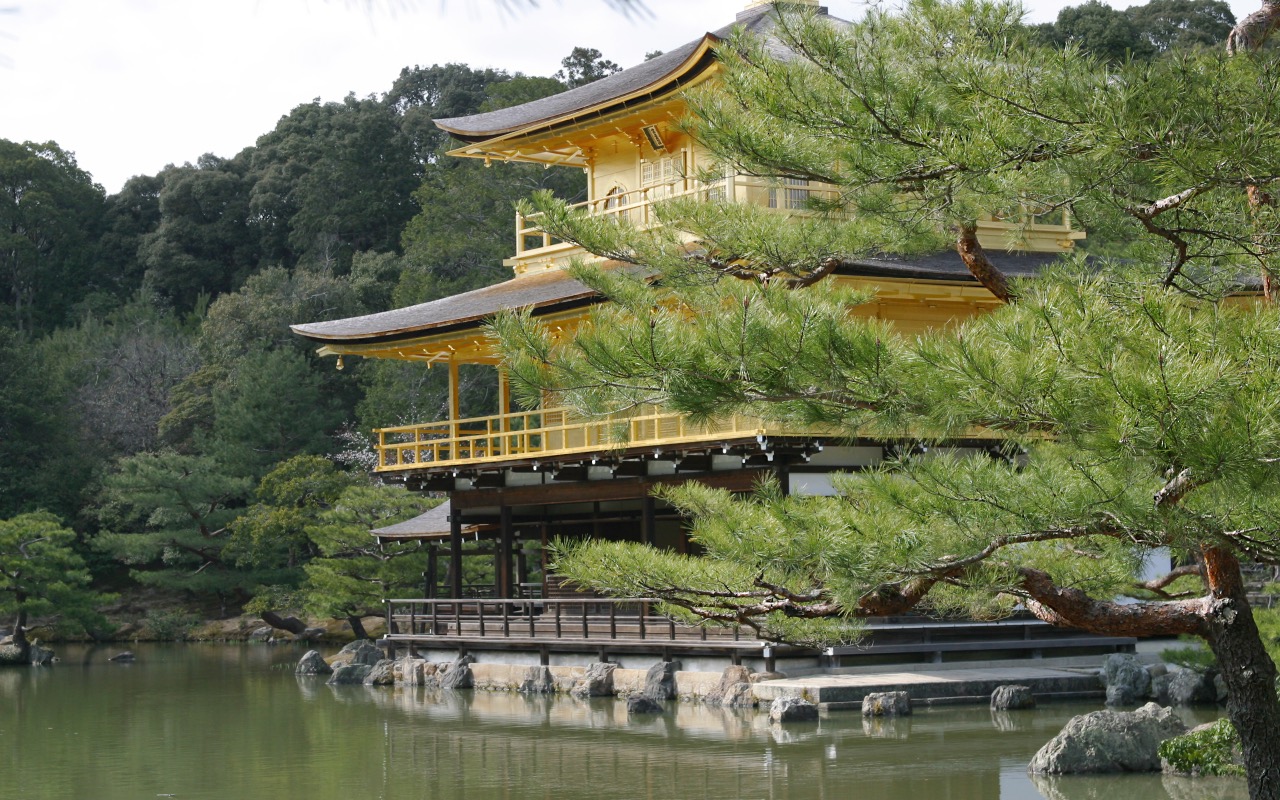
Download Golden Palace (iPhone)
Horizon
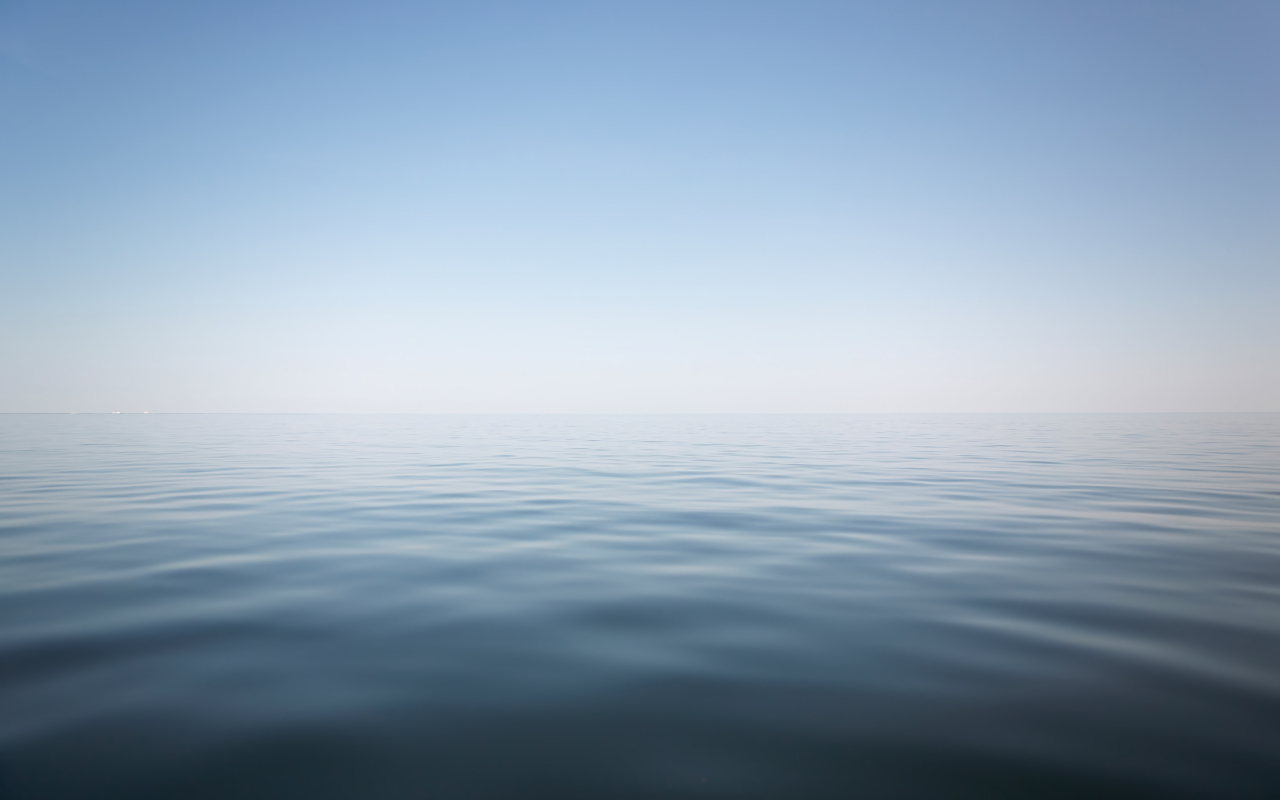
Iceberg
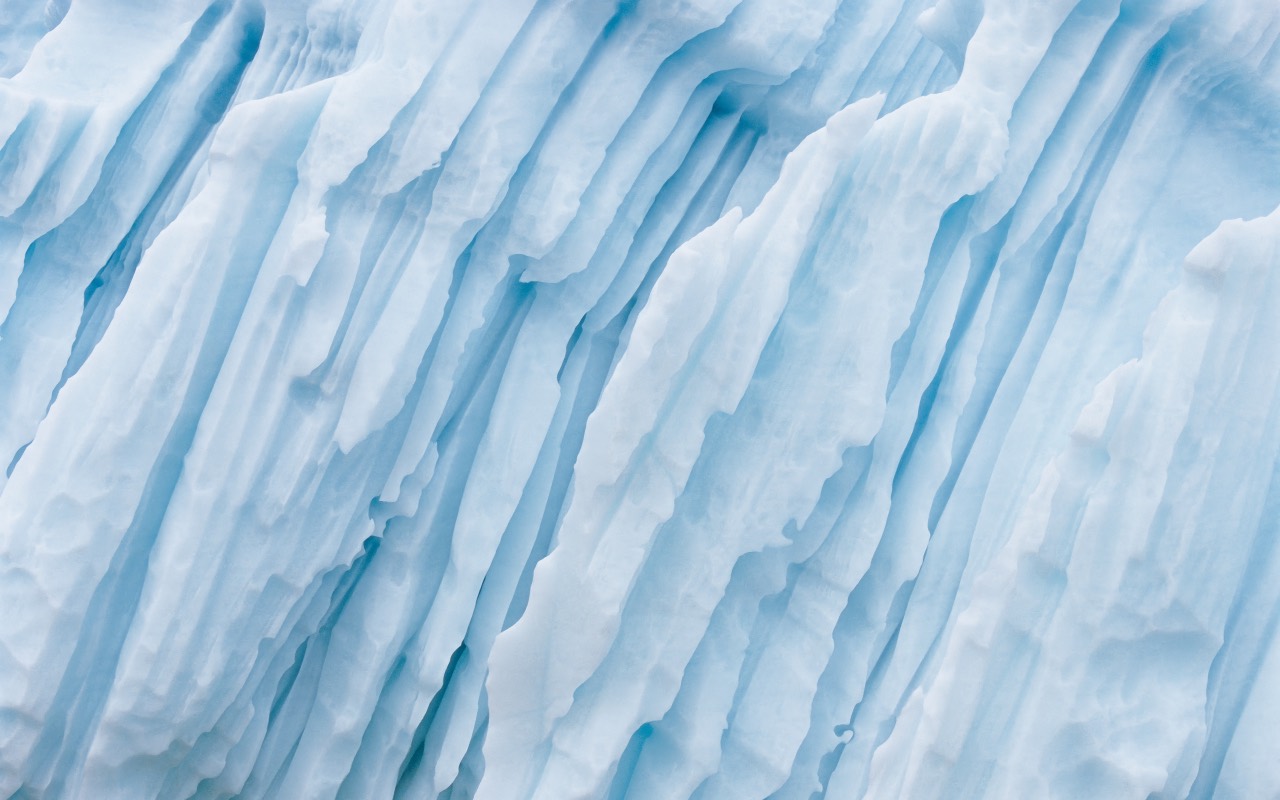
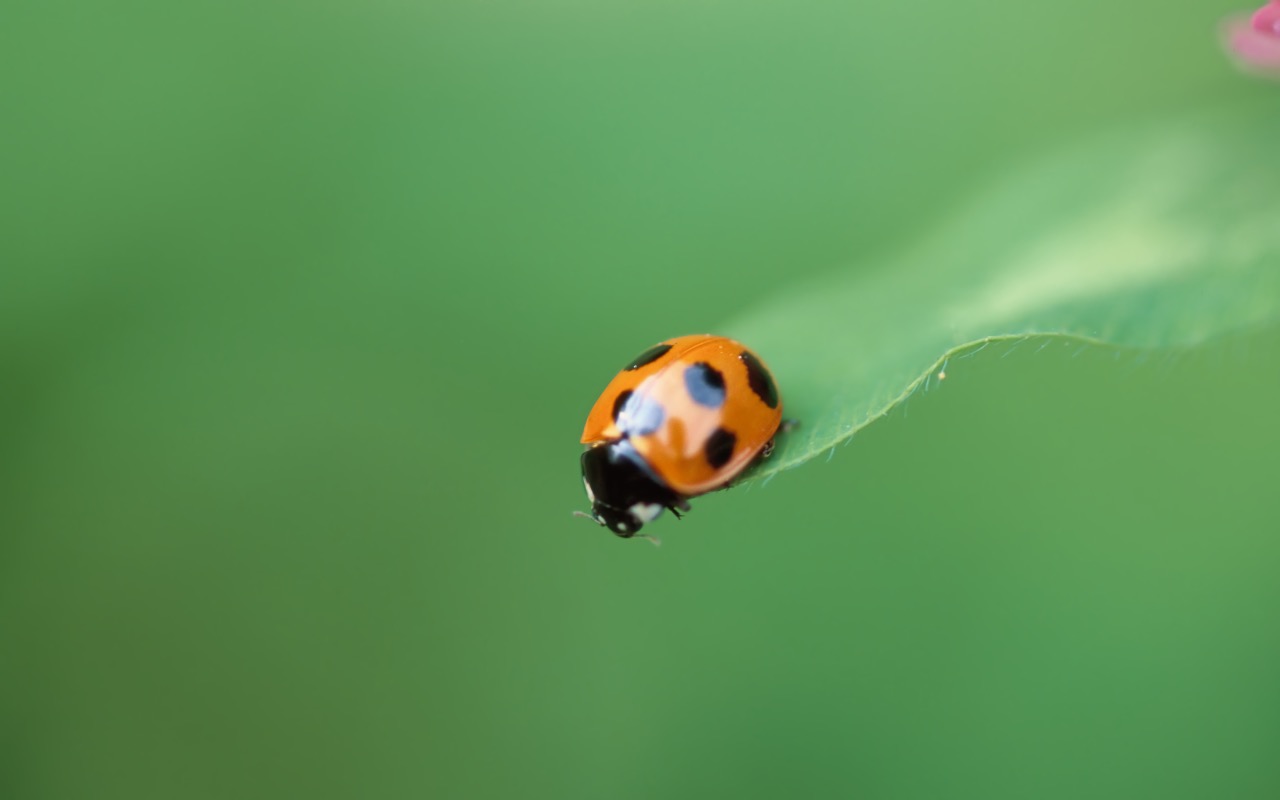
Ladybug
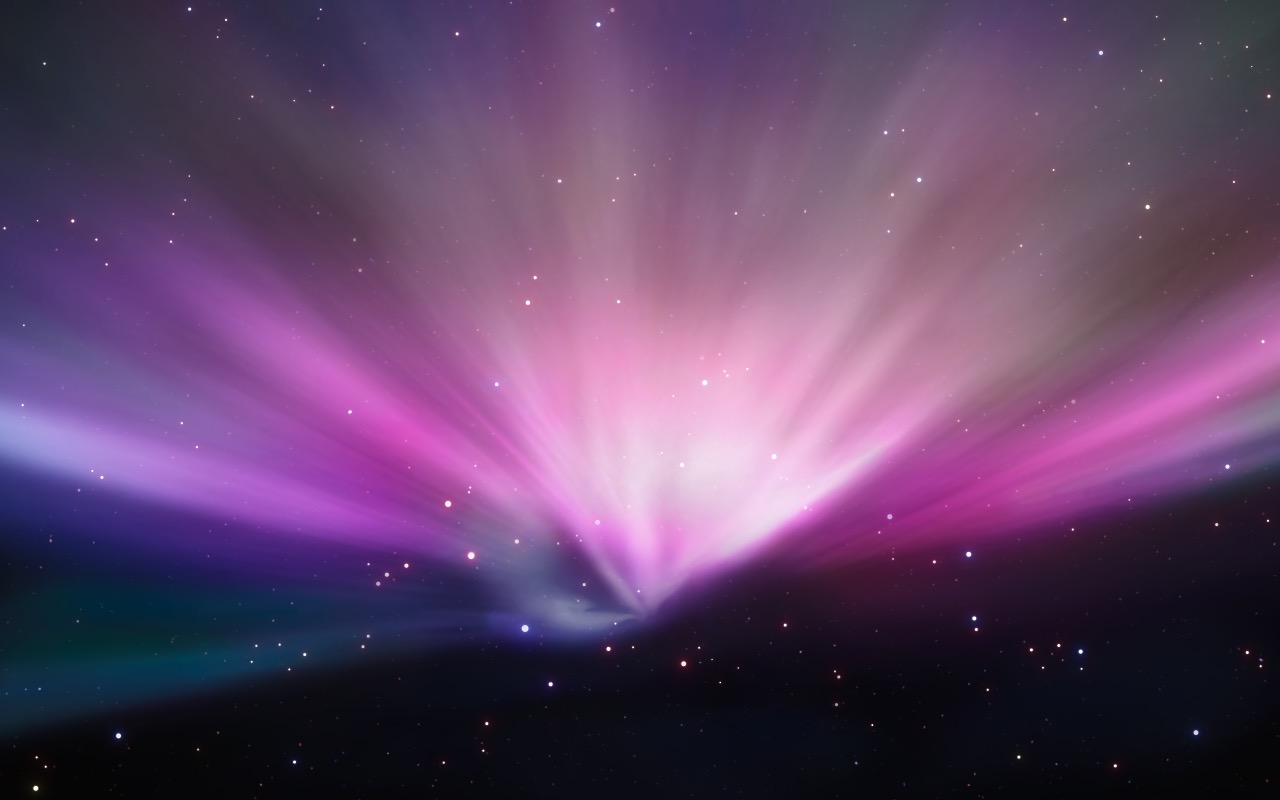
Leopard Aurora
Download Leopard Aurora (iPhone)
Pond Reeds
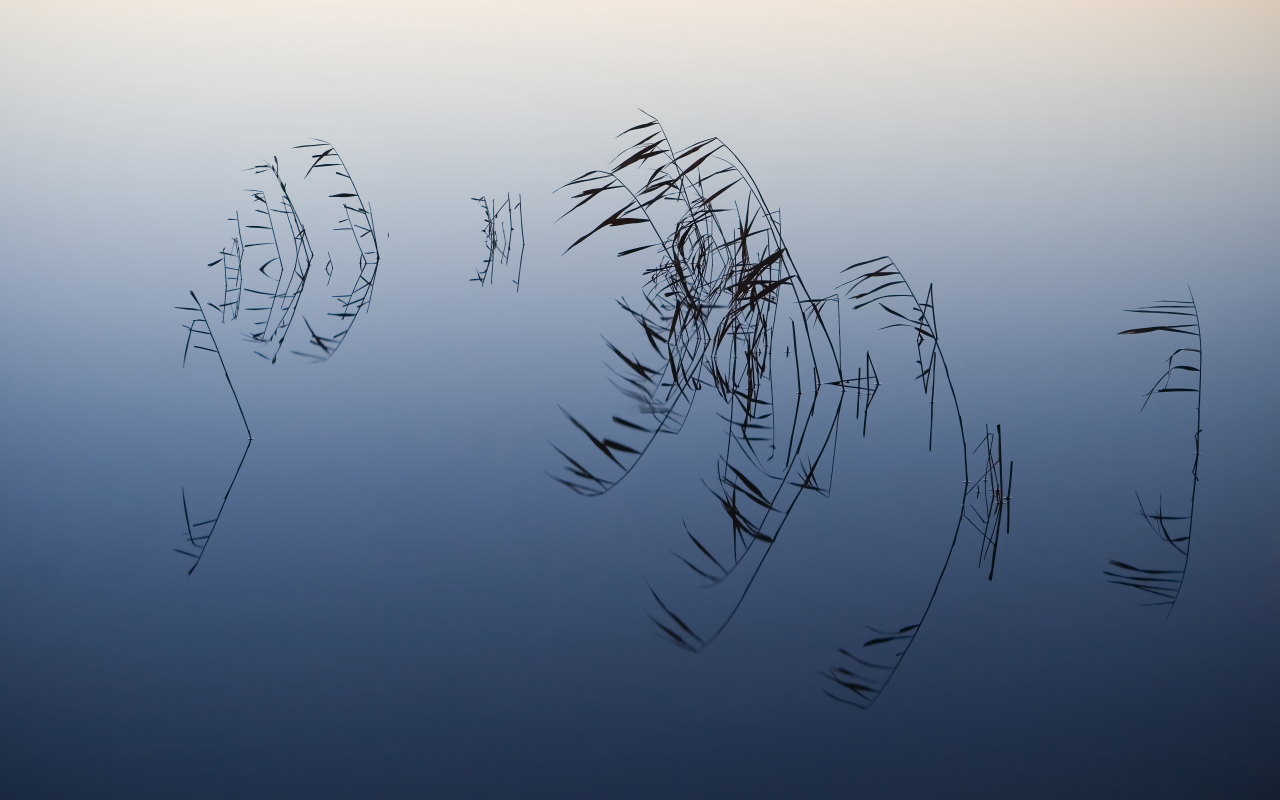
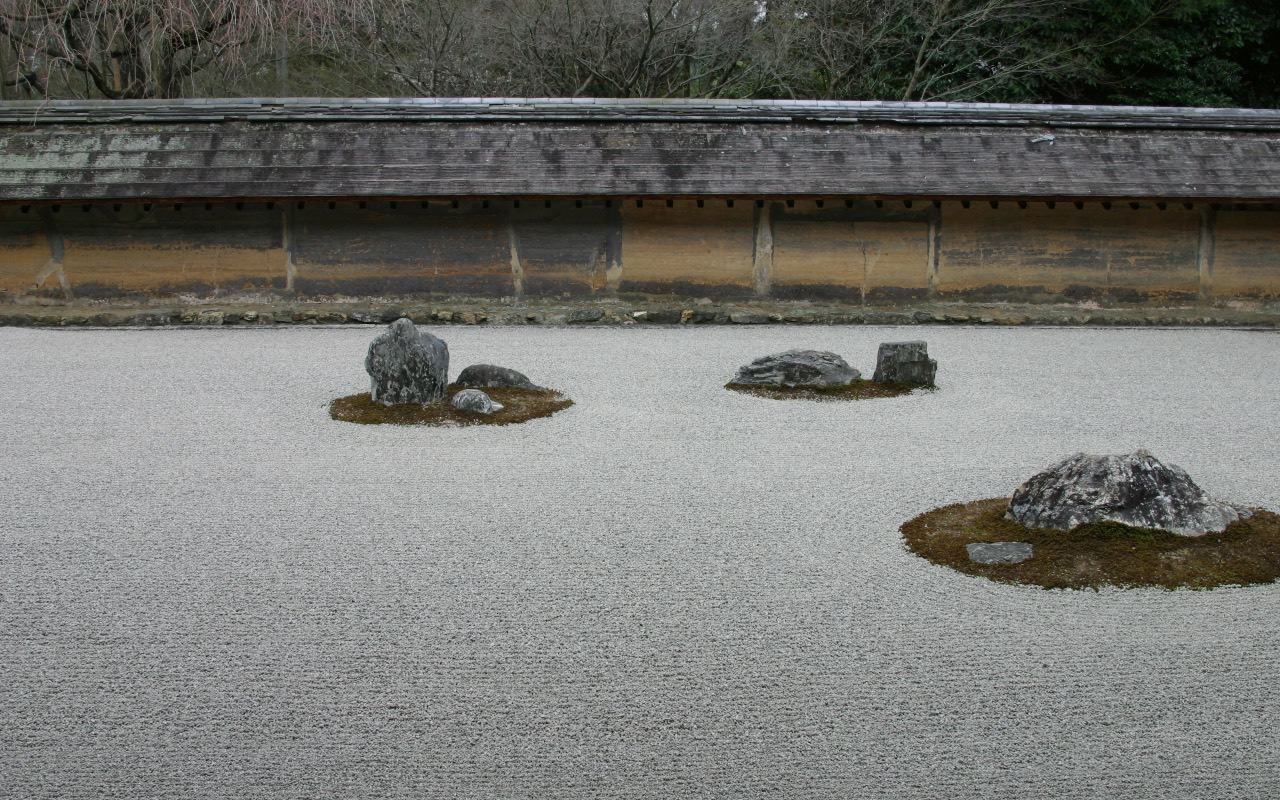
Rock Garden
Rocks
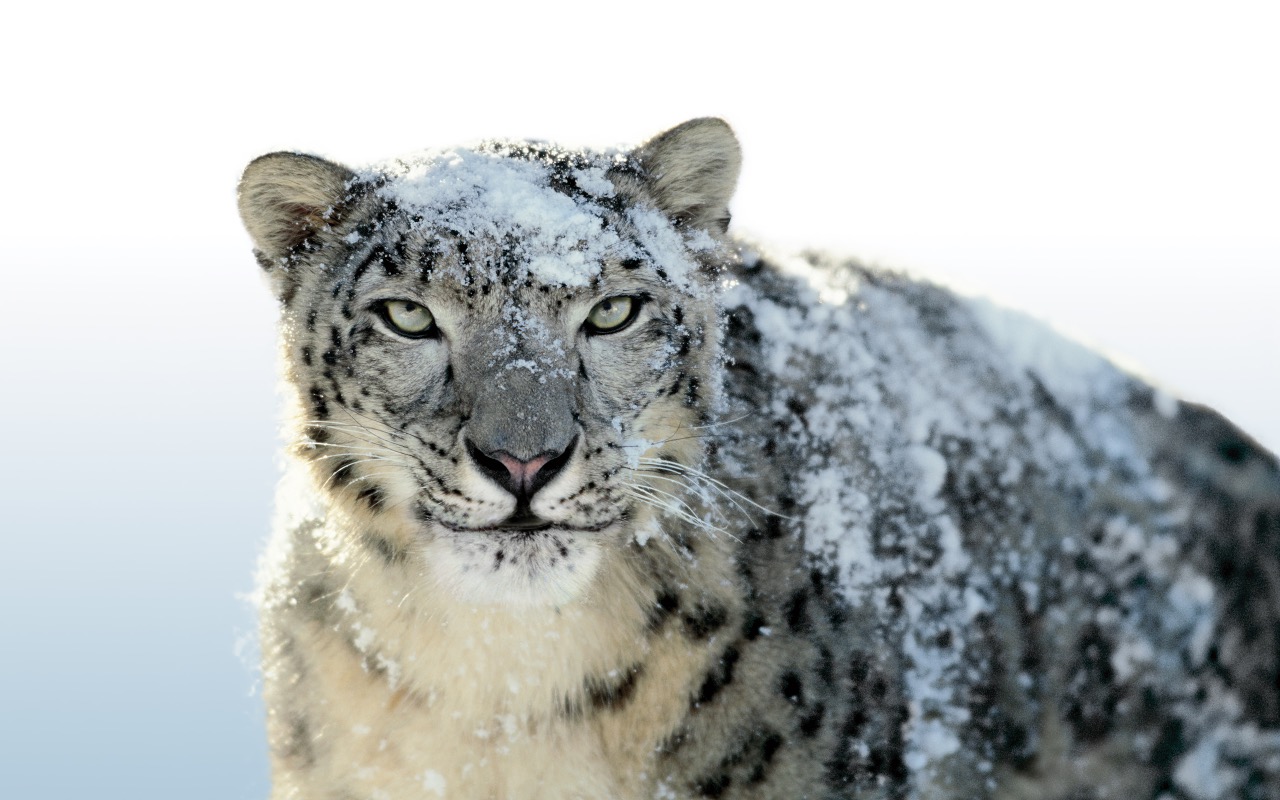
Snow Leopard
Download Snow Leopard (iPhone)
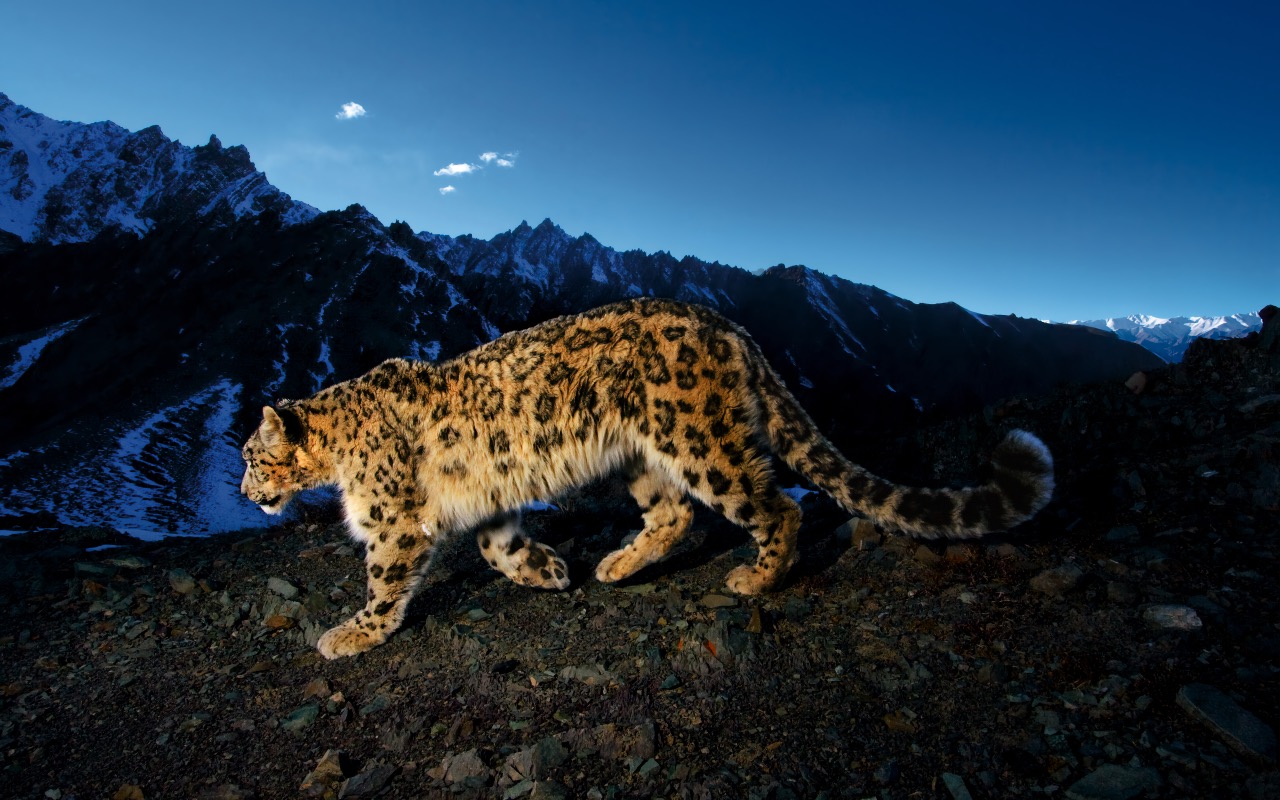
Snow Leopard Prowl
Download Snow Leopard Prowl (iPhone)
Snowy Hills
Stones
Tahoe
Tranquil Surface

Download Tranquil Surface (iPhone)
Water

Zebra
Bonus
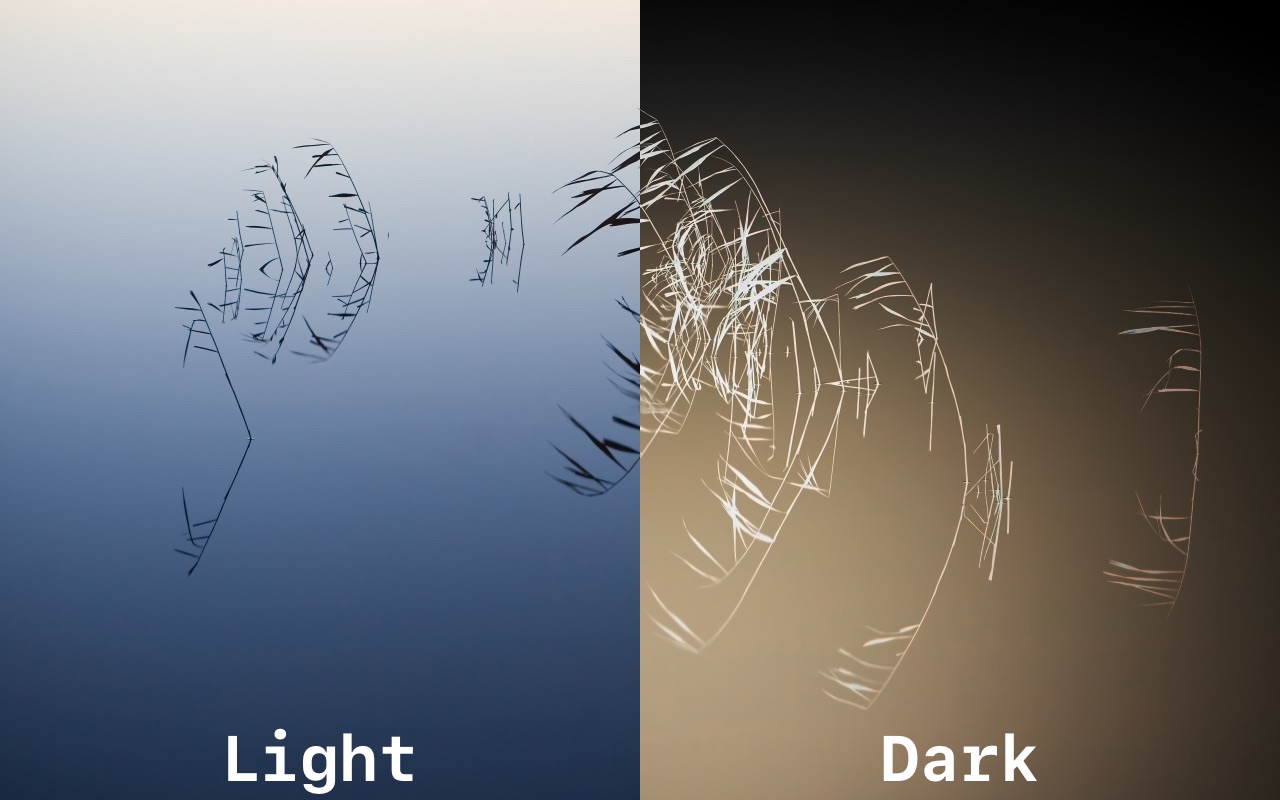
Pond Reeds (Light / Dark) Dynamic Wall Paper
Pond Reeds Dark Wall Paper
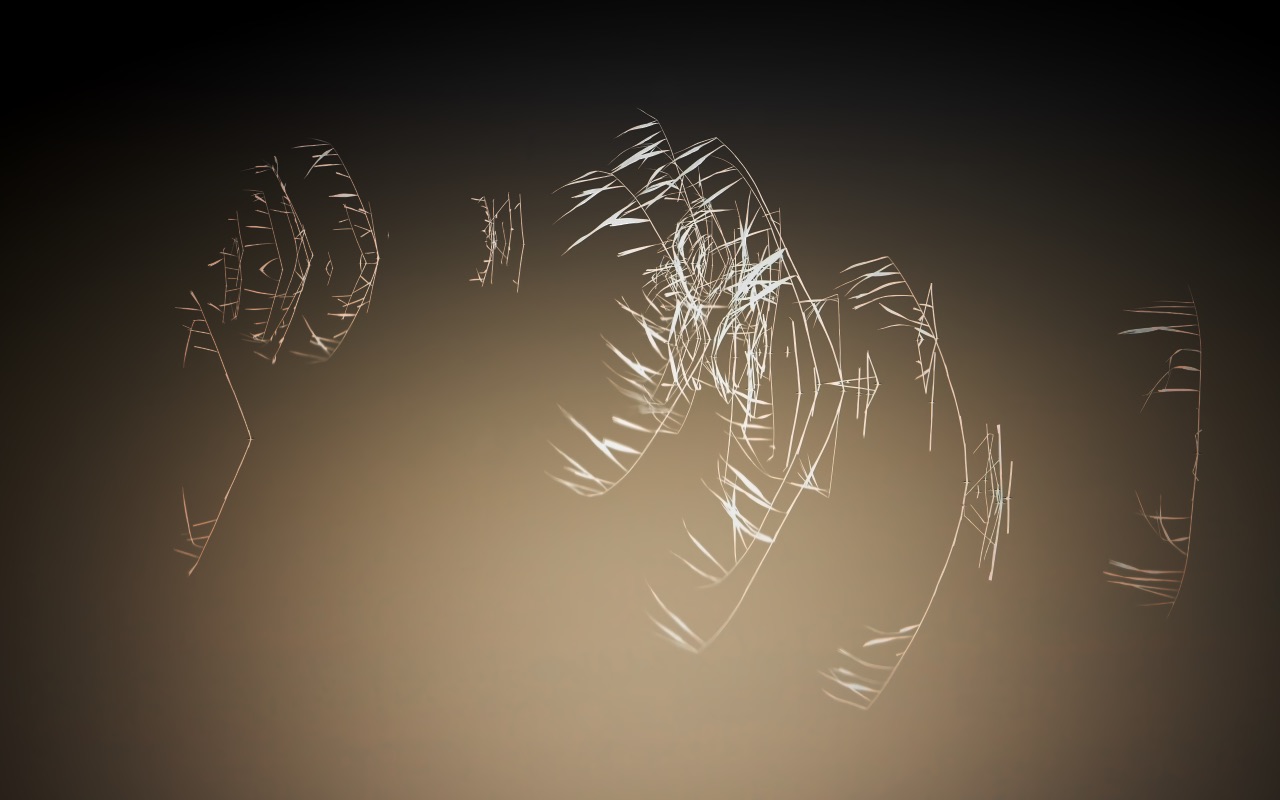
Download Pond Reeds Night (iPhone)
Aurora (Light / Dark) Dynamic Wall Paper
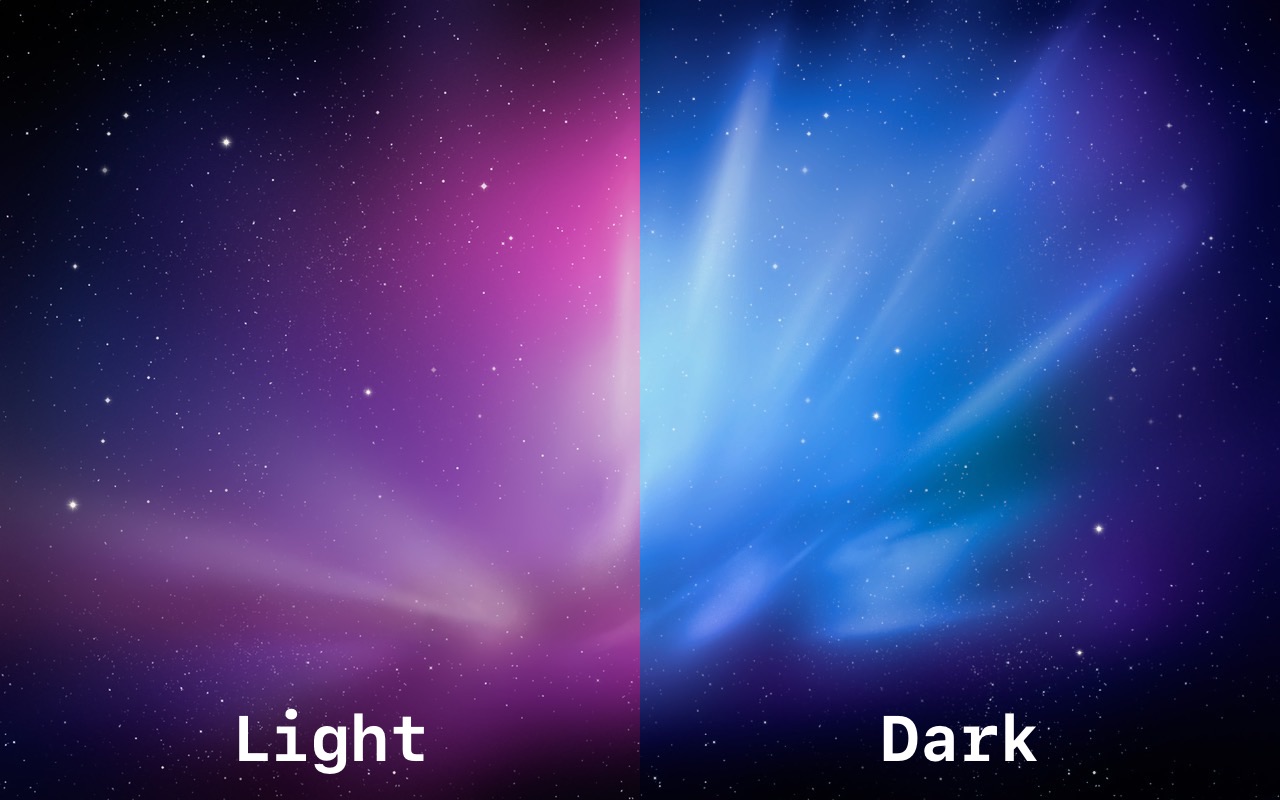
The Abstract Desktop Series from Snow Leopard
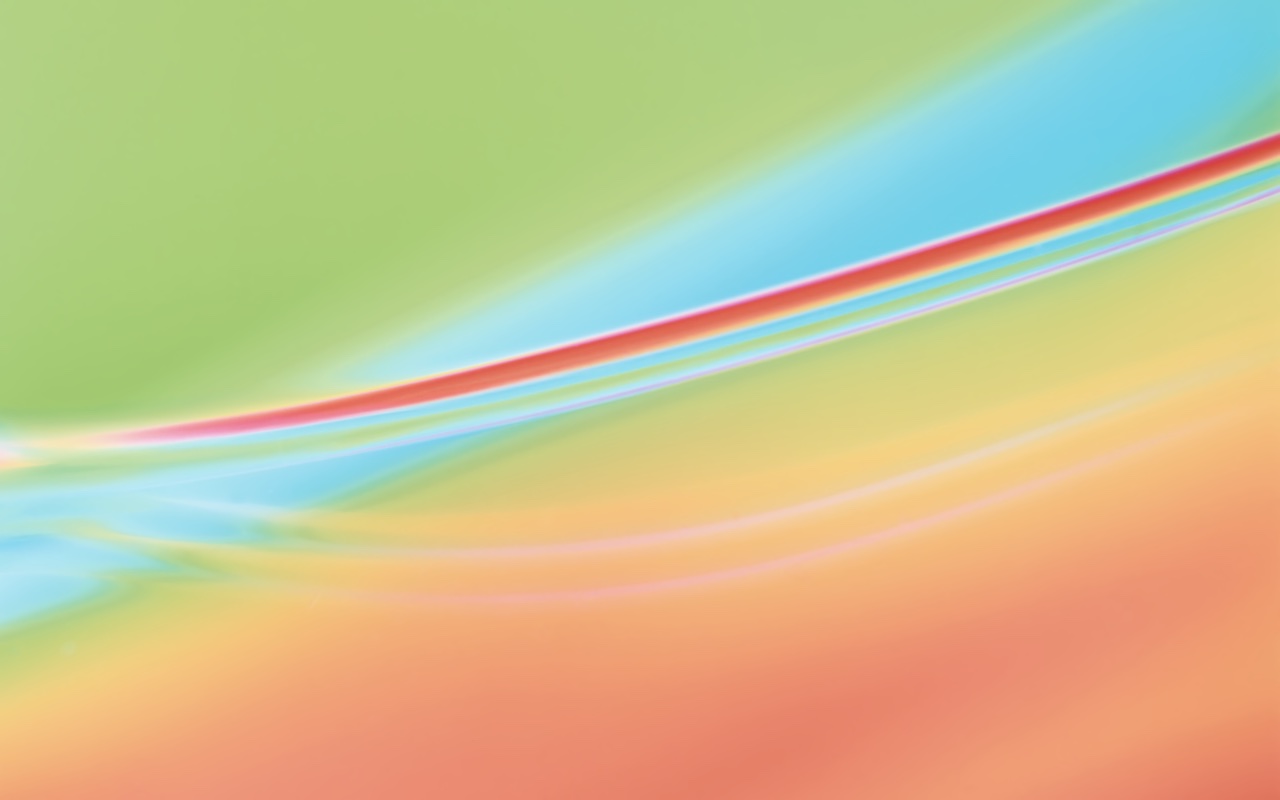

Check out Every OS X Snow Leopard Abstract Desktop - in Glorious 5k and 8k Resolution for the Abstract backgrounds from OS X 10.6.
Snow Leopard Videos I've made
Was Snow Leopard the greatest macOS? I made a video about that. Wonder what it's like to use Snow Leopard in 2024? I made a video about that too.
Note: I don't think the above video conveys how much I like Snow Leopard.
About these images
I do not own these images and thus am providing these free-of-charge (as I do with everything on my blog). These are images that shipped with OS X 10.6 Snow Leopard and upscaled for modern computers.

One of the very frequent tasks computers do is upscaling raster images, aka zooming in or increasing the size of an image. This happens when you zoom in on an image in an application like Preview or Photoshop, or zoom in on a web browser or pinch and zoom on your iPhone. Upscaling has come a long way in the past few years, with machine-learning-assisted upscaling algorithms. These use tricks like taking into account the hue/luminosity (color and its brightness) of surrounding pixels and filling in what it believes the new pixels should be. Before machine-learning, upscaling meant duplicating pixels (nearest neighbor) or duplicating pixels and creating transitions between the hue/luminosity (bilinear). If you have a sharp line, perhaps a sharp mountain silhouette against a sunset (or in my case, a cat whisker against the ground), the machine-learning algorithm will "notice" the sharp contrast between the two areas as it has been "trained" to do so. It will then infer that it should try and keep the sharpness rather than lose the detail, when it creates new pixels to fill the space from upscaling.
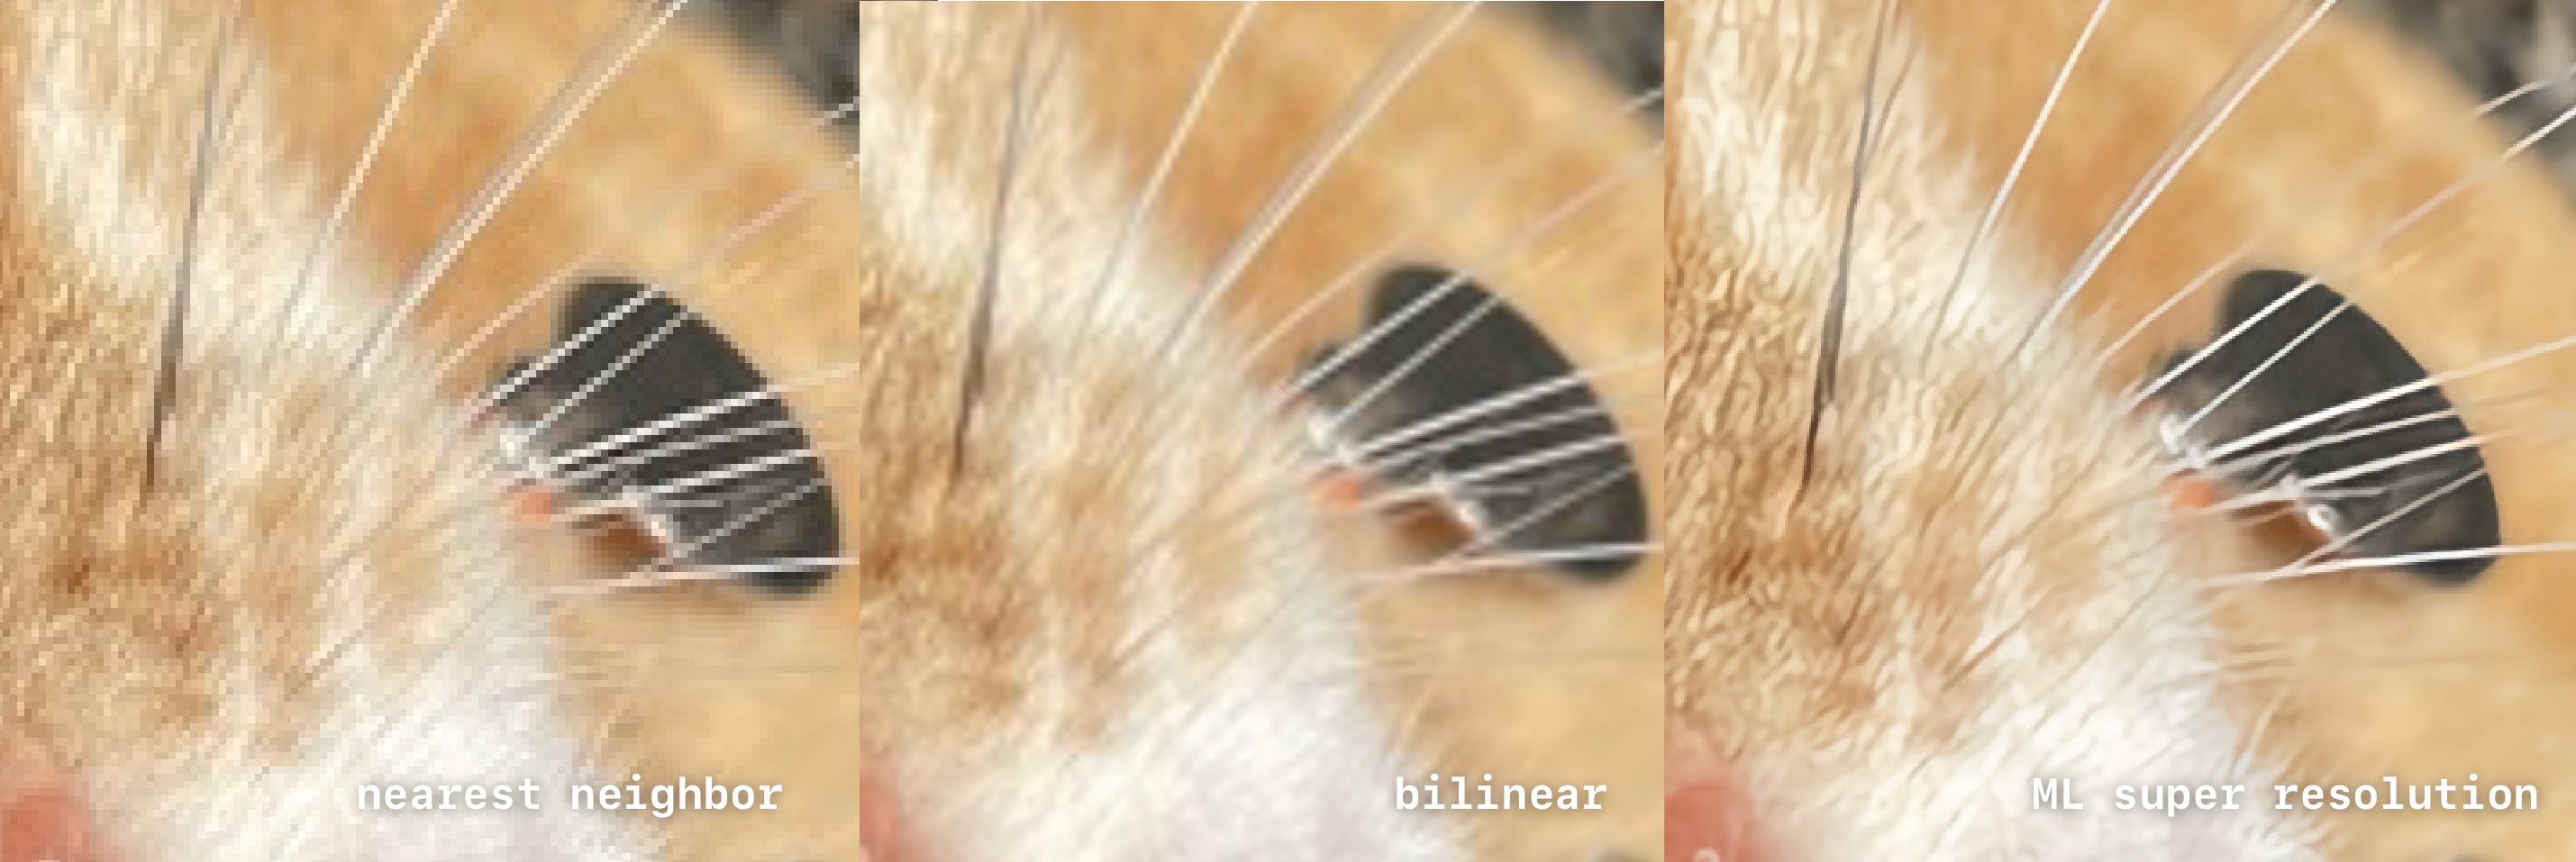
While none of these upscales are nearly as good as a high-resolution photo, ML upscaling provides a much better result in a pinch. The ML upscaling is much better at preserving details in the image, such as Mr. Orange's whiskers, his fur, and his pet tag, while providing nice soft results on the areas out of focus. ML (machine learning) upscaling has become popular with modern GPUs. In Windows, AMD and NVidia GPUs can take a videogame rendered at 1440p and upscale it to 4k as it takes less effort for the GPU to upscale the image than it takes to render an image with a lot more pixels, enabling the GPU to churn out higher frame rates and keeping more visual fidelity than using bilinear upscaling. Of course, machine learning isn't limited to uspcaling (or even images).
Machine learning can also be used to provide other types of "best guesses" like denoising images that have artifacts from compression, like JPEGs which are a "lossy format", meaning to save data, they alter the photos to consume less space. Lossy compression is used extensively for media as you do not need a byte-for-byte accurate representation of the original data. Depending on how much compression and what sort of codec (compression type), it will introduce evidence of the compression. Everyone is familiar with the effects of lossy compression, be it an image of low quality, a video with blocky noise, or an audio file that sounds garbled. Machine learning can undo some of this, but it's highly imperfect as it's trying to guess what the original source was trying to convey.
I first tried Gigapixel but ended up just using Pixelmator Pro. Each background was individually treated, using the ML upscaling but with a combination of multiple layers with sharpening, blurs, denoising, grain, and old fashion brush tools on layer masks. As a UX Developer, I split my time between graphics applications and good ol' fashioned coding as my job is to take static pixel images and turn them into code for interfaces for web and mobile applications, although I do often do "full-stack," which is a nice way of saying "everything". I've gone away from Adobe products years ago, with Sketch / Figma / Pixelmator Pro / Final Cut Pro partly out of personal preference and following the industry.
A great example of the power of just a few simple masks is the Ladybug image. First, I nabbed the image from the Snow Leopard Parallels virtual machine on my Mac Pro. Then I imported it into Pixelmator Pro. I converted it to 16-bit, then I created two layers of the exact same image. One I left alone. In the second layer, I used the ML Denoise to get rid of the JPEG artifacting. I used ML upscaling, which upscaled both layers. I masked the non-denoised layer in the Ladybug and used a tiny bit of grain and sharpening, and painted in the hairs on the grass blade. Then I used the blur tool on the larger out-of-focus areas on the denoised image. I went back and lightly burned the Ladybug's antenna. Once I was happy with the result, I downscaled the image from 8k to 5k and left the same color profile same as the original. My goal was to recreate the original as much to the spirit as the original image rather than, say, create an HDR (high dynamic range) version.
Each image was hand treated, although some images had better sources than others. I'm sure another artist with more time could bring these even better to life as I tried to keep roughly an hour-ish per image (as a UX developer, time budgets are a harsh reality for me). If you create your own versions, please reach out to me, as I'll happily link them.
I hope you enjoy, and if you're an Apple nerd and like mediocre camera work, and awkward on-camera presence, you can find me on YouTube and this blog.
If this blog looks familiar to you, you've probably seen, The Definitive Classic Mac Pro (2006-2012) Upgrade Guide or The Definitive Trashcan Mac Pro 6.1 (Late 2013) Upgrade Guide