Running Mac OS 9 and Mac OS X 10.0 - 10.4 on Apple Silicon (M1) & Intel via QEMU
The info this guide is valid but I written a new one about QEMU screamer which emulates Mac OS 9 - OS X 10.14 with sound.
QEMU is an open-source emulator for virtualizing computers. Unlike VMWare, it's able to both virtualize CPUs and emulate various CPU instruction sets. It's pretty powerful, free, and has a macOS port. There are alternate versions and different ways to install it. Still, in this example, I'm using Homebrew, a package manager for macOS/OSX that allows you to install software via the CLI and manage easily.
Now, this post wouldn't be very exciting if I tried this on my Mac Pro, but I decided to try it on my MacBook M1. Thus far, the community has succeeded in getting QEMU to install the ARM version Windows, so I decided to do the more silly path and get PPC and X86 working on Apple Silicon. I encountered very little resistance, which surprised me as I haven't seen/read anyone trying this route. It's surprsingly very usable but the usefulness is going to be limited. I was able to play Sim City 2000 on Mac OS 9.2 at a fairly high resolution. For the sake of brevity, I'm going to skip over installing Homebrew on an Apple M1, but you'll want to use the arch -x86_64 method, which requires prepending. I've gotten OS 10.0 and nearly gotten Windows 10 working on my M1.
12/19/21 Update
When I originally wrote this guide, there wasn't a native version of QEMU for Apple Silicon, I've updated this guide so it is now correct
Included below is the instruction for both Apple Silicon and Intel Macs.
Requirements
- Basic understanding of the terminal in OS X/macOS
- Apple Silicon (M1) computer (or Intel) Mac
- Xcode
- xcode-select (CLI Tools)
xcode-select --install - Homebrew
Step 1: Install QEMU
Now that there's a universal binary for QEMU for x86 and Apple Silicon, we can install it using the same commands on both architectures. Yay!
brew install qemu Step 2: Create a disk image
You can specify a path in fron to fthe image, but I just used the default pathing. The size is 2G which equals 2 GB. You can get away with much less for OS X OS 9. If you'd like more space, change the size of the simulated HDD.
qemu-img create -f qcow2 myimage.img 2G Step 3: Launching the emulated computer and the tricky part: Formatting the HDD
Now that we have a blank hard disk image, we're ready to go.
qemu-system-ppc -L pc-bios -boot d -M mac99 -m 512 -hda myimage.img -cdrom path/to/disk/image Let's break this down so it's not just magic. The first command is the qemu core emulator, you can use things like 64-bit x86 CPU qemu-system-x86_64 or a 32-bit CPU qemu-system-i386 , but we're using a PPC, so we are using qemu-system-ppc.
Next, we're declaring PC bios with -L pc-bios, I'm unsure if this is necessary. This seems to be the default even in Mac QEMU. After that, the -boot flag declares the boot drive. For those who remember the days of yore, C is the default drive for PCs, D is the default for the CD-Rom like a PC. It's weird, I know. -M is the model flag. It's pretty esoteric, but QEMU uses OpenBIOS, and mac99 is the model for Beige G3s. The lowercase -m is memory, expressed in megabytes, but you can use 1G or 2G for 1 or 2 gigabytes like the format utility. -hda is the image we're using. Finally, -cdrom is the installer image
Step 3.5: Special considerations between operating systems
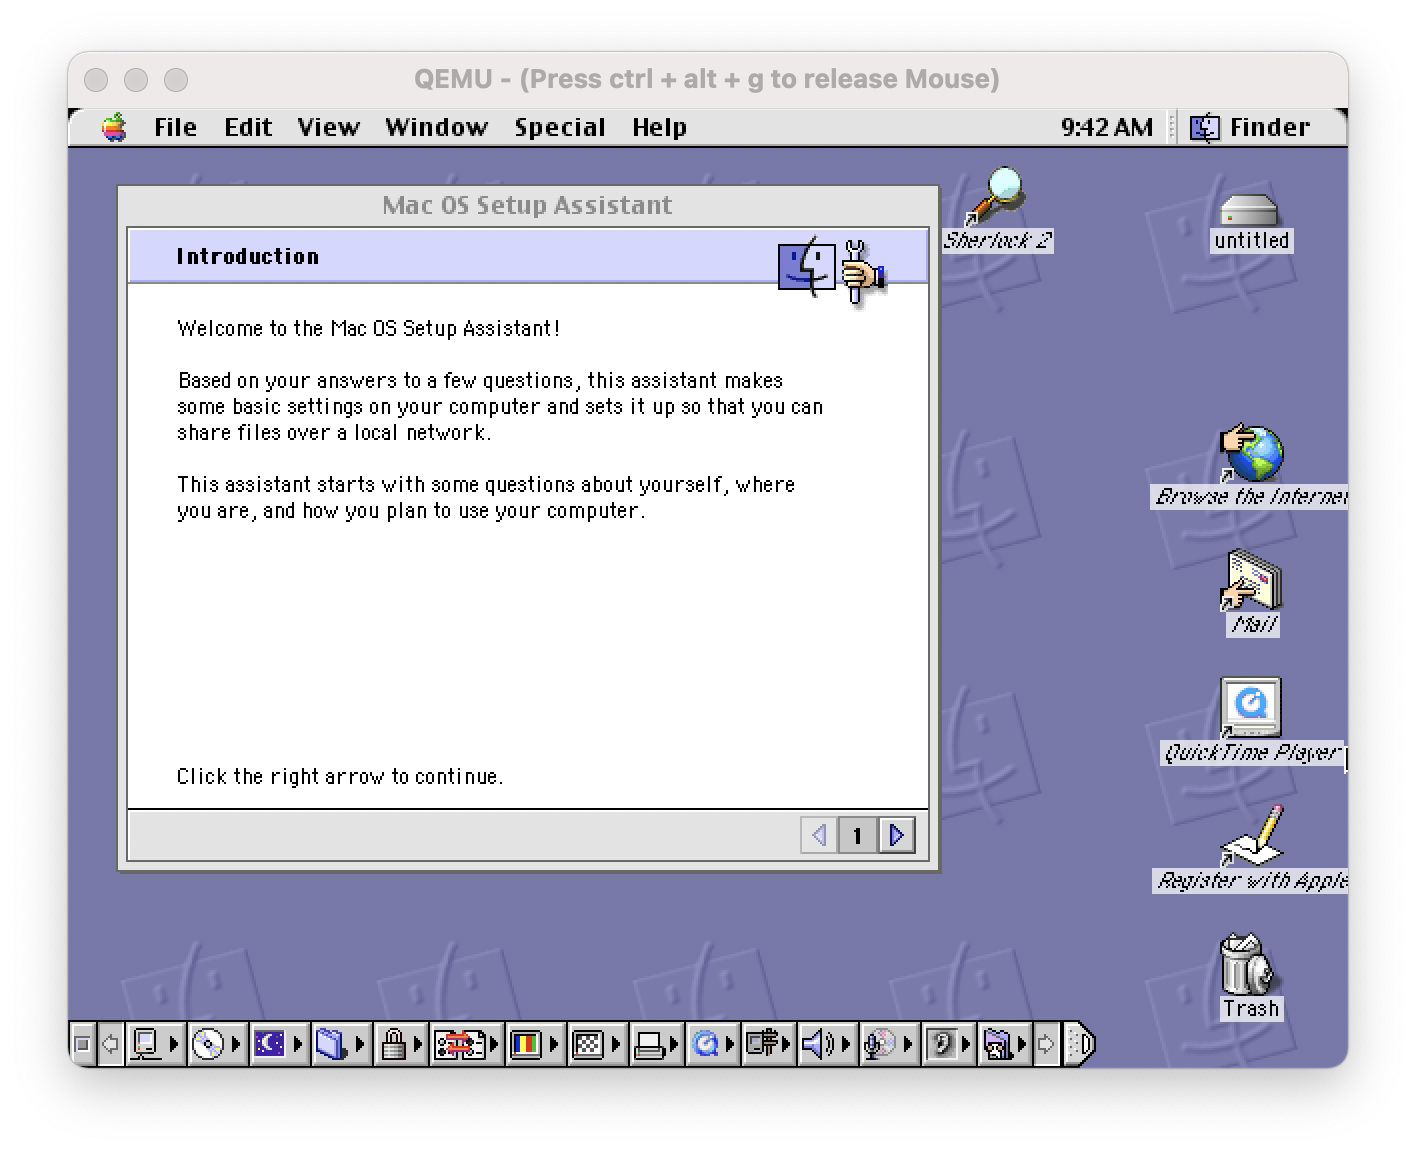
I discovered that OS X 10.0's installer has a significant flaw: It doesn't have a disk utility. The disk images are black disks thus have no file system. If you want to run OS X 10.0, you'll need to first launch an installer that can format HFS like OS 9 or later versions of OS X, run the disk utility, format the image and then exit out of the emulator. The process would look like this:
qemu-system-ppc -L pc-bios -boot d -M mac99 -m 512 -hda myimage.img -cdrom path/to/disk/macosx10.1 or macOS9 Then format the drive from the utility, quit the emulator (control-c on the terminal window).
qemu-system-ppc -L pc-bios -boot d -M mac99 -m 512 -hda myimage.img -cdrom path/to/disk/macosx10.0Tiger and Leopard requires USB emulation so you'll need to add -device flags for a usb keyboard and a usb mouse, also both like a few extra -prom-env flags.
qemu-system-ppc -L pc-bios -boot d -M mac99 -cpu G4 -m 512 -hda myimage -cdrom /path/to/disk -device usb-kbd -device usb-mouse -prom-env 'auto-boot?=true' -no-reboot -prom-env 'vga-ndrv?=true' -prom-env 'boot-args=-v'Power PC Leopard I can get to boot but it crashed twice during installs, this could be
Step 4: after the installer fininshes
You will end up seeing a failed boot screen after the installer finishes. This is normal. Either quit the QEMU instance or use control-c in the terminal to close it. Now that it's installed, we want to boot off the internal drive.
qemu-system-ppc -L pc-bios -boot c -M mac99 -m 512 -hda myimage.img MacOS 9 seems to do slightly better when adding the via=pmu and specifying the graphics.
qemu-system-ppc -L pc-bios -boot c -M mac99,via=pmu -g 1024x768x32 -m 512 -hda os9.img Step 5: mounting disk images
There's not a lot to do with an OS without software. You can mount plenty of disk image formats
qemu-system-ppc -L pc-bios -boot c -M mac99 -m 512 -hda myimage.img -cdrom path/to/disk 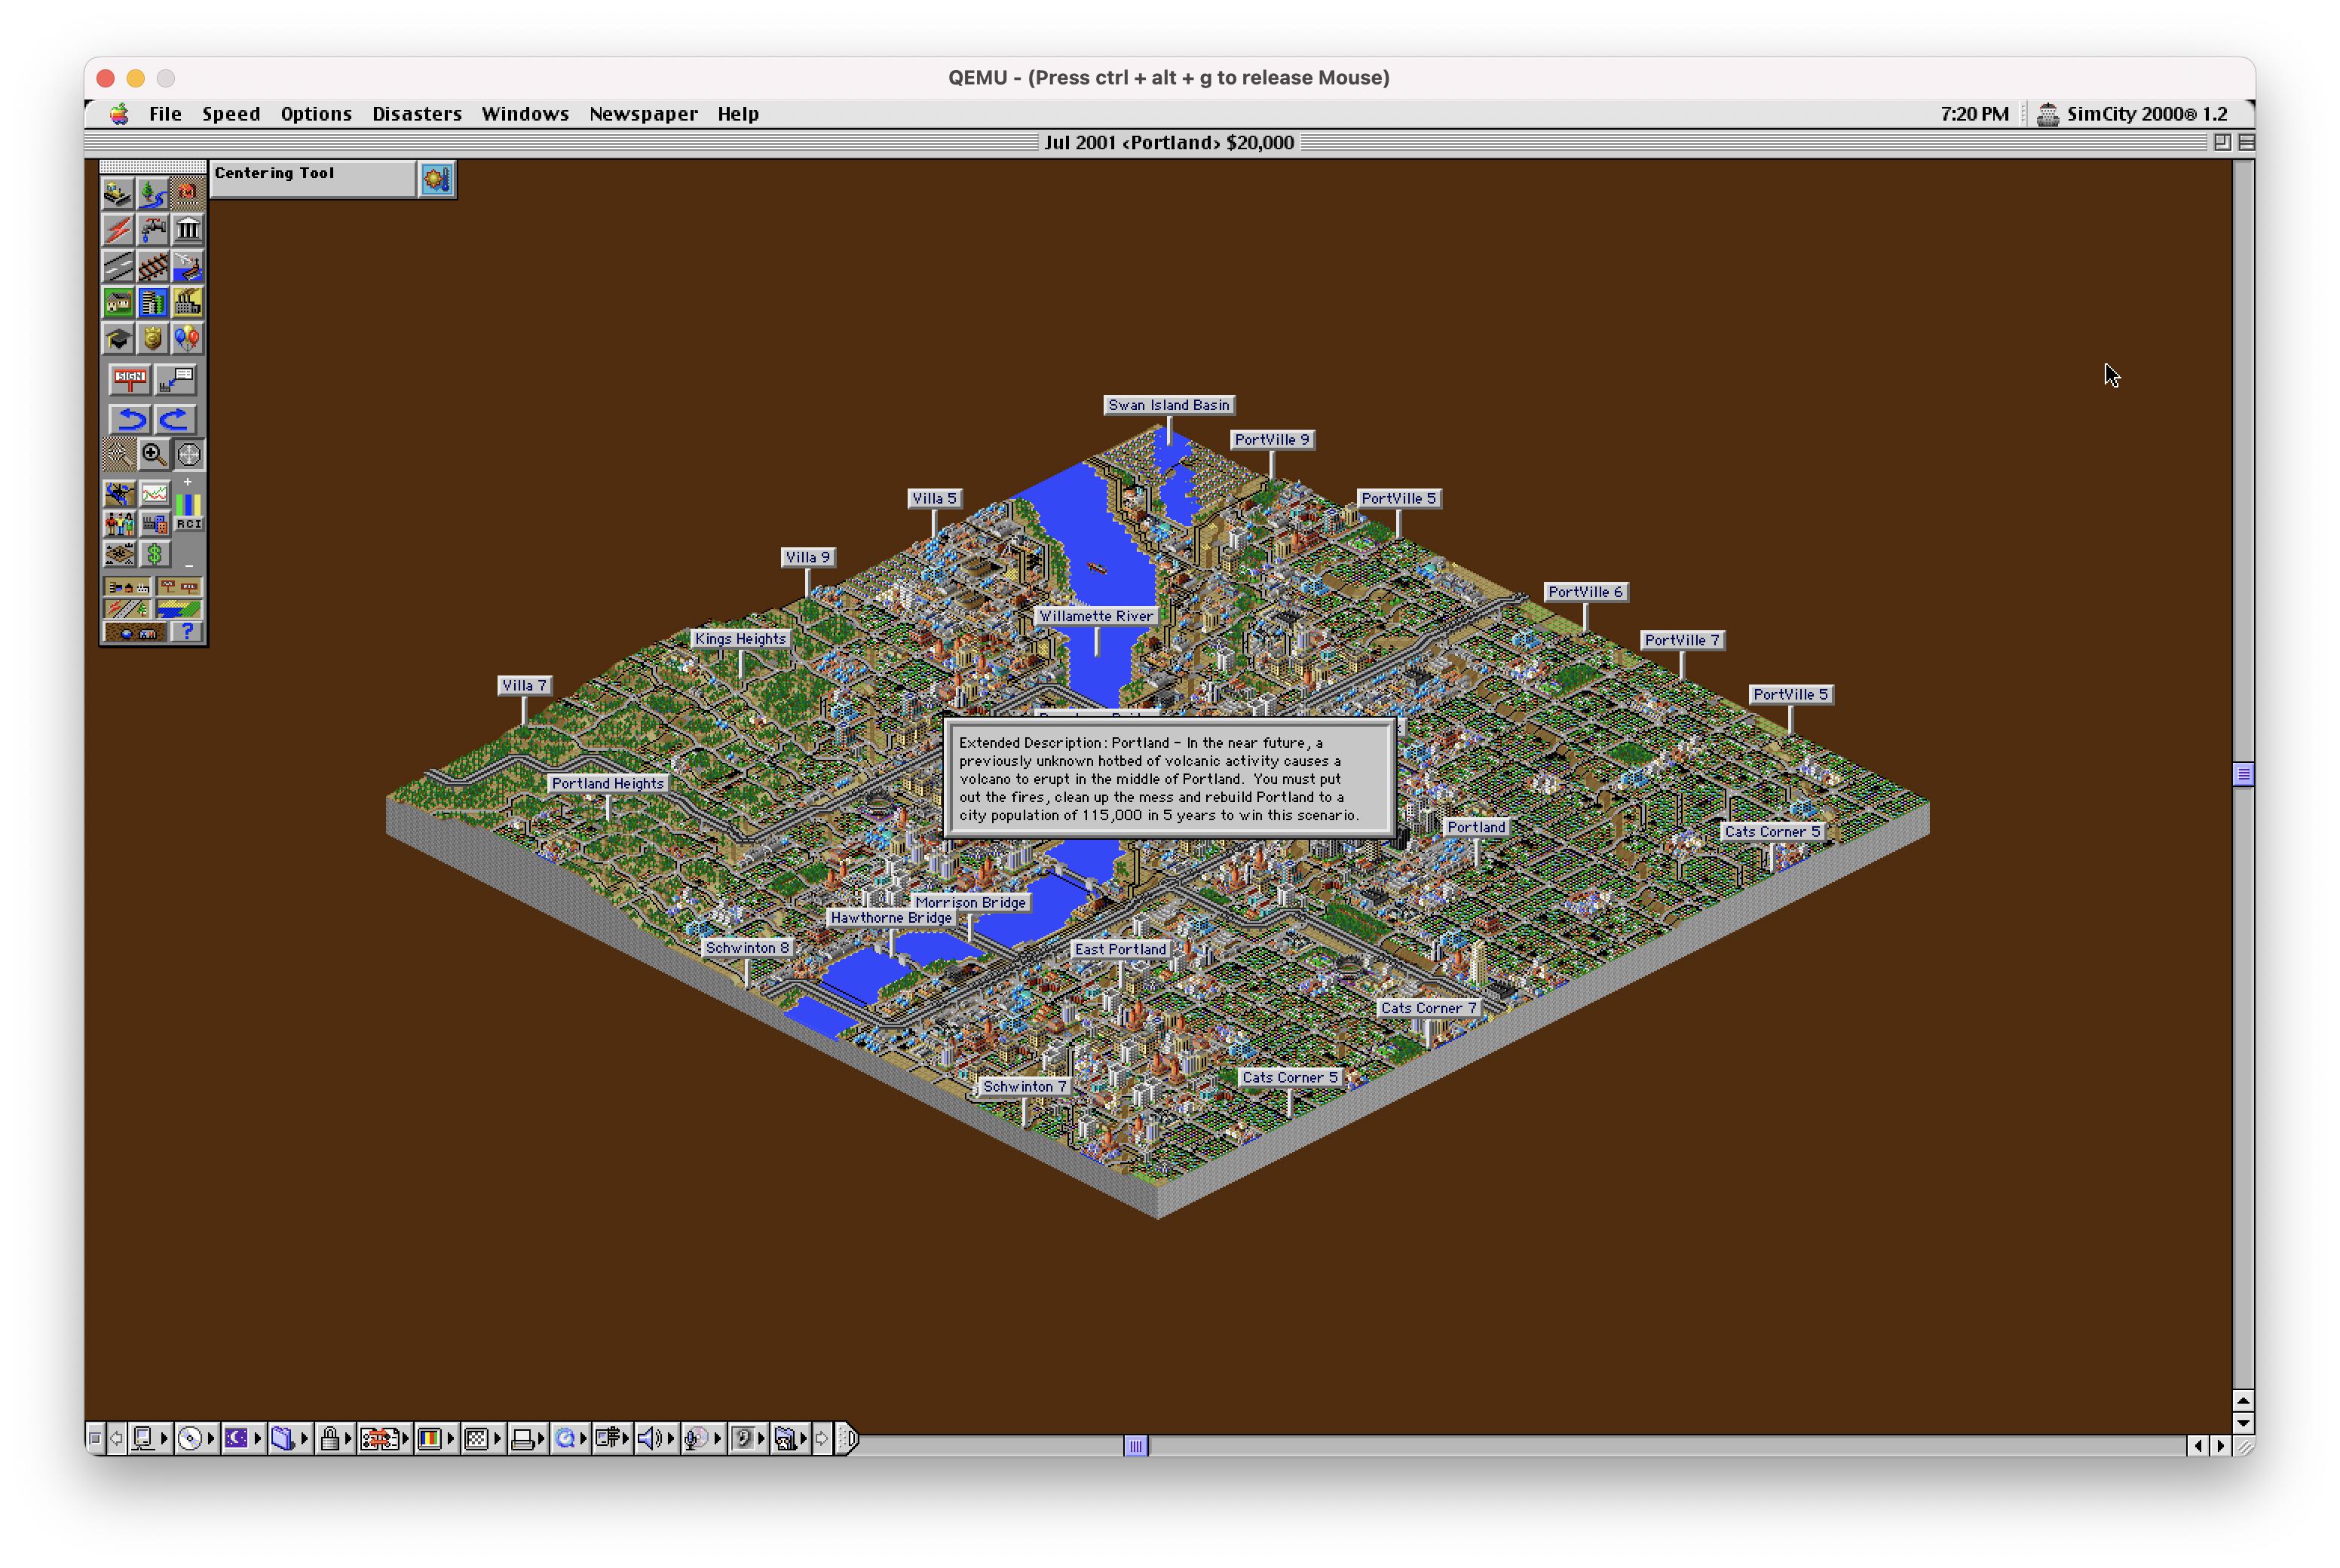
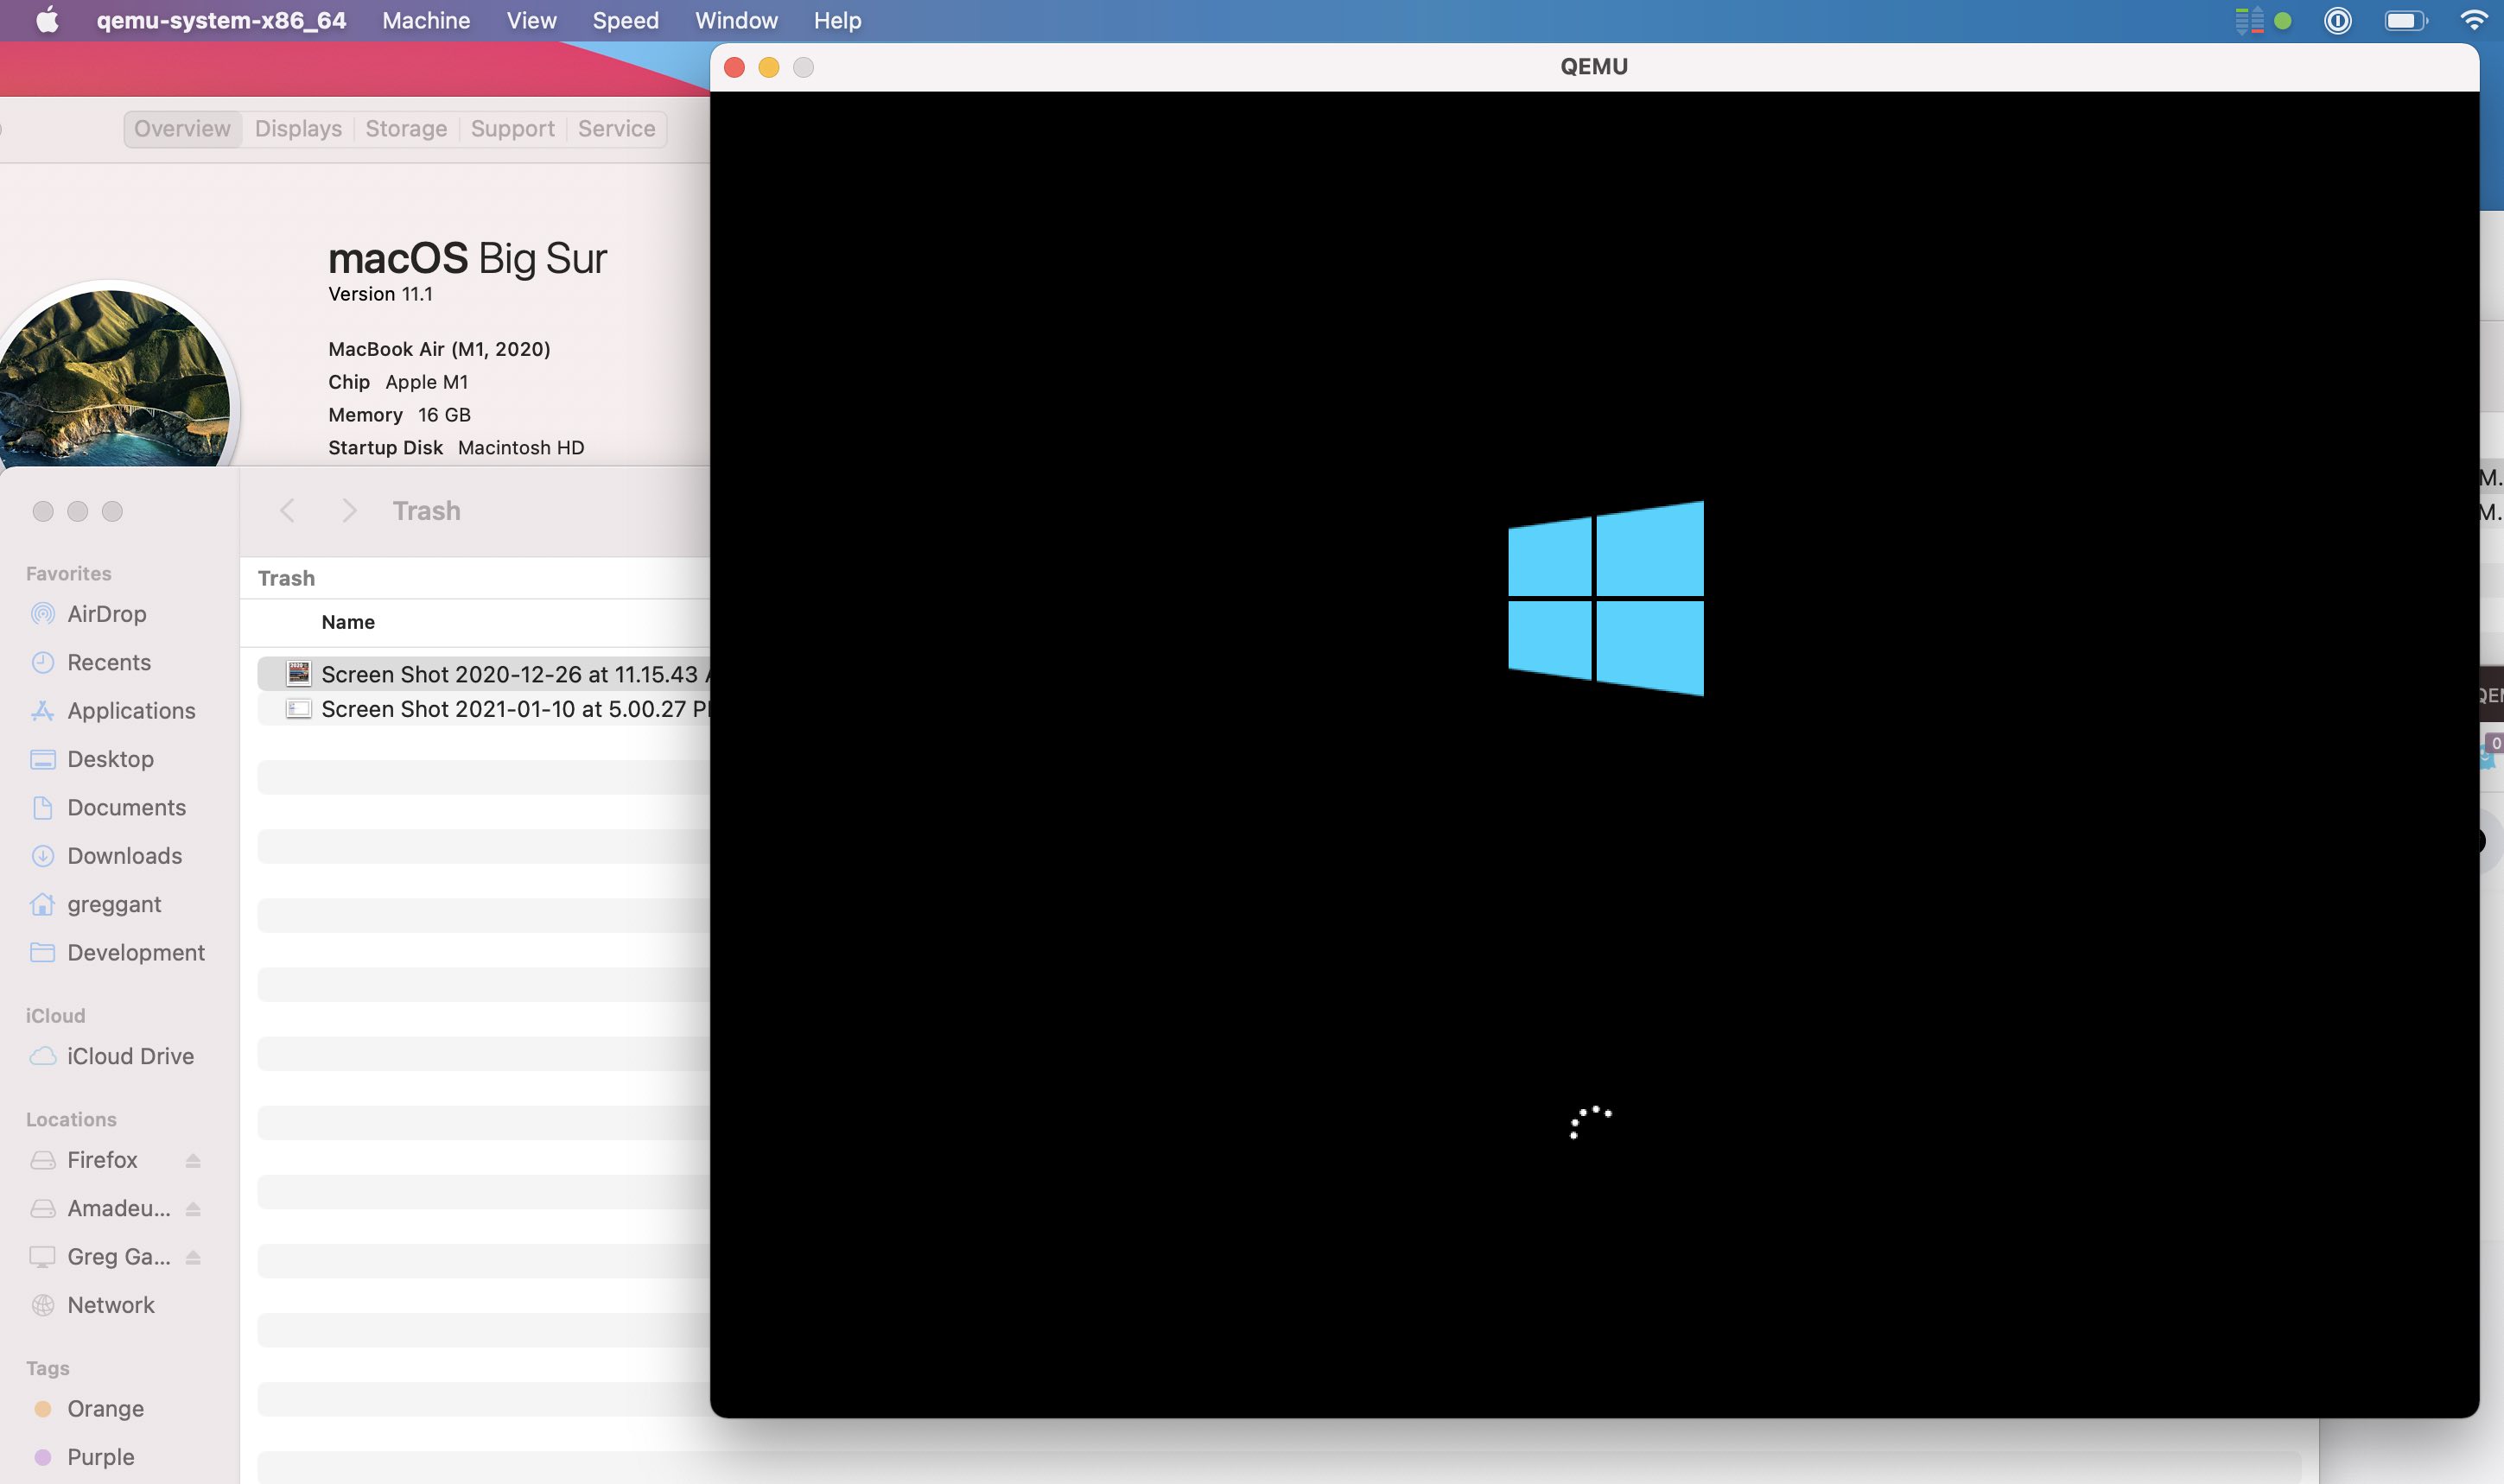
Bonus round: Trying for x86 64 Windows 10
Step 6: Multi CD-Rom Installs or swapping Disk Images
Older applications and OS installers require mutliple disk images. This can be done from via the CLI inside QEMU.
On the QEMU window press:
- Control-Alt-2 to bring up the console
change ide1-cd0 /path/to/image- Control-Alt-1 to bring back the GUI
Thus far my Windows 10 experiment has been a lot less successful, I've gotten through the installer (it's unbearably slow) but it seems to hand on booting. It looks very feasible. I might have better luck using the 32 bit verison of windows.
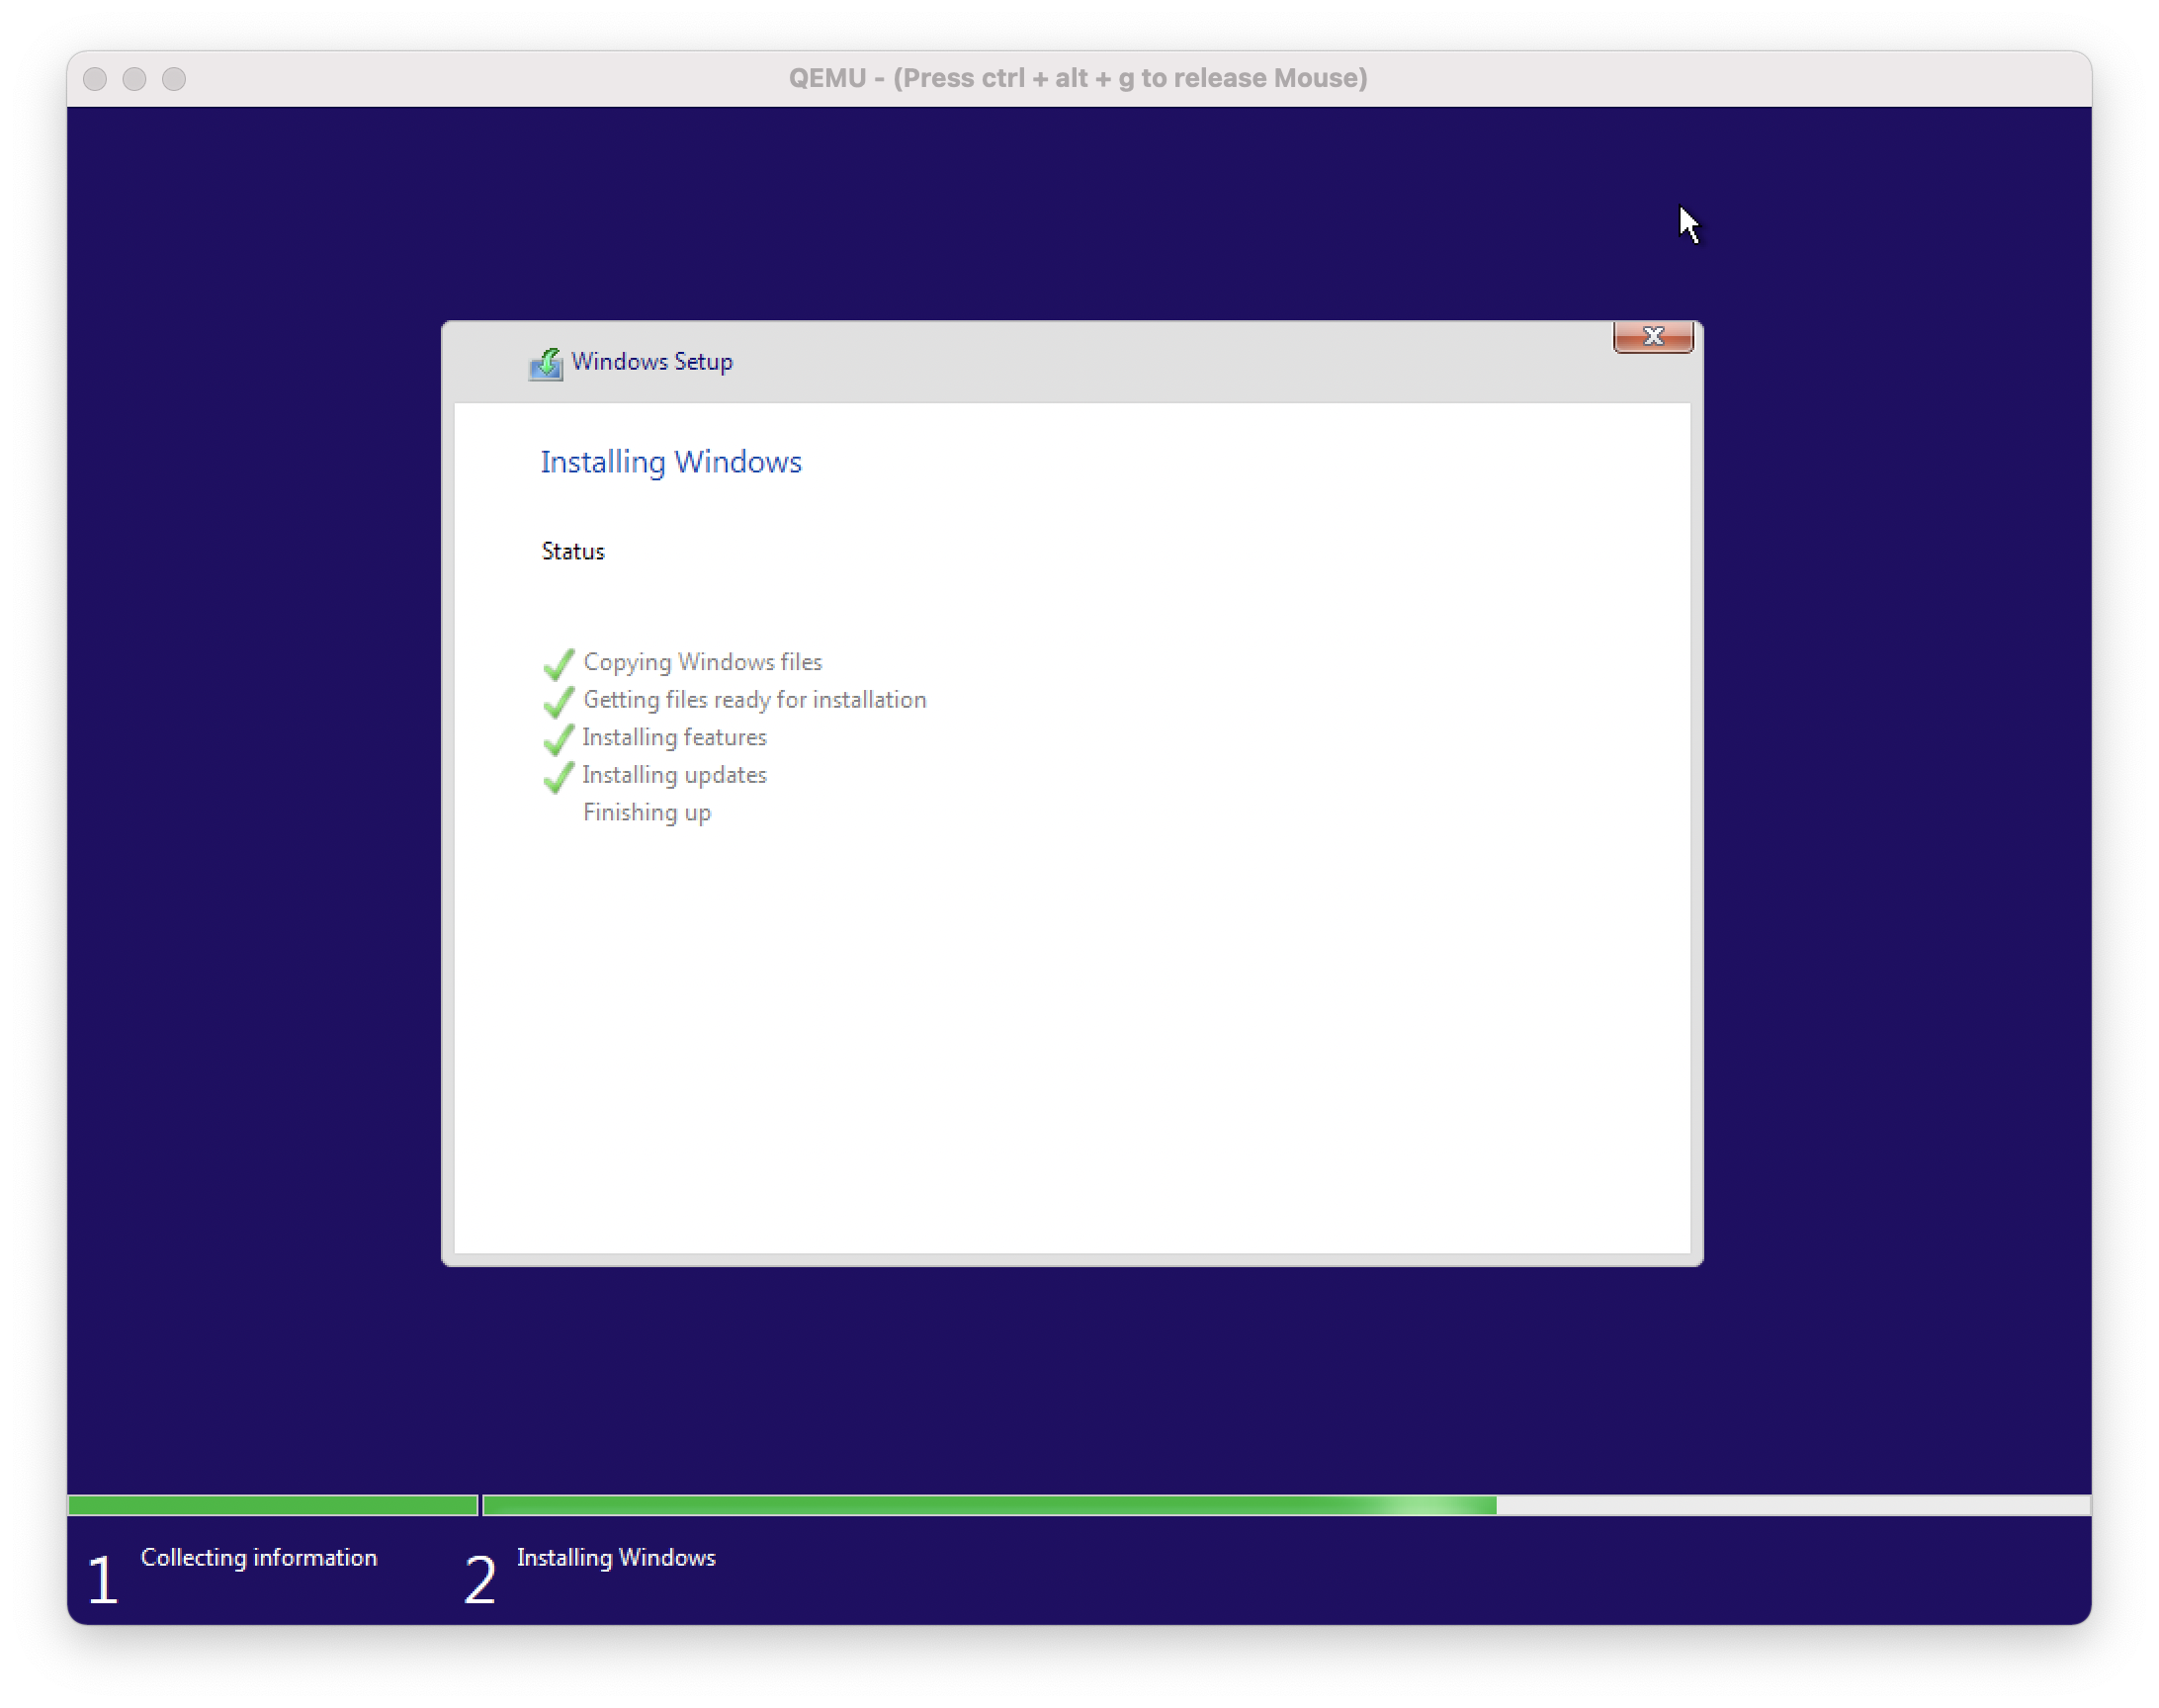
qemu-system-x86_64 -L pc-bios -boot d -m 2048 -hda myimage.img -cdrom Win10_20H2_v2_English_x64.iso
QEMU with Sound
Check my guide on QEMU screamer which emulates Mac OS 9 - OS X 10.14 with sound.
</section>