Install an OS from a .vmdk image in VMware Fusion, OS X vmdk
VMware Fusion plays nicely with the Virtual Machine Disk format (.vmdk) seeing as its a spin off of its enterprise VMware software like VMware Workstation.
You can mount vmdk preinstalled images in VMware but you can also install from vmdk images. In this example, I have a OS X 10.7 Lion Installer Disk .vmdk and VMware Fusion 7. These instructions should be OS agnostic and the process hasn’t changed in VMware Fusion 8 to my knowledge.
These steps can be mimicked using other operating systems, in fact only step 9 differs when using Ubuntu or Windows.
First MAKE A COPY OF YOUR VMDK as VMware Fusion can break your install disk image. Once you have a copy to work from, launch VMware Fusion and select create new virtual machine.
Now let’s begin…
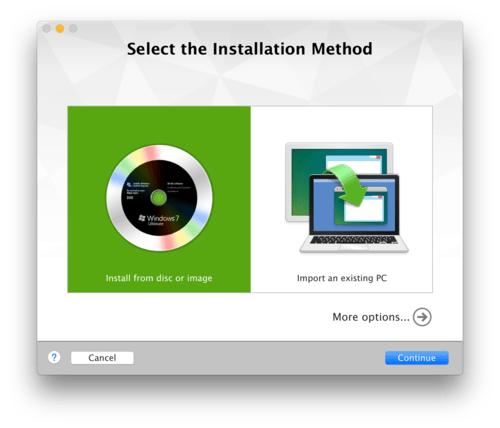
1) Select More Options from the lower right hand corner.
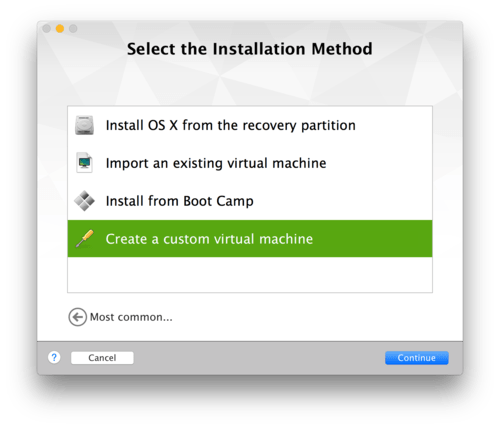
2) Select create custom virtual machine
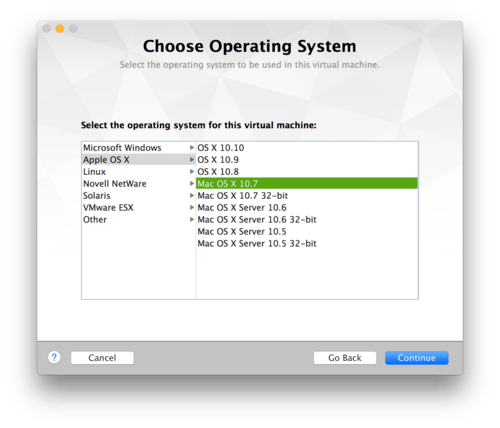
3) Select the version of the OS you are installing, (I’m using OS X 10.7) and create the image.
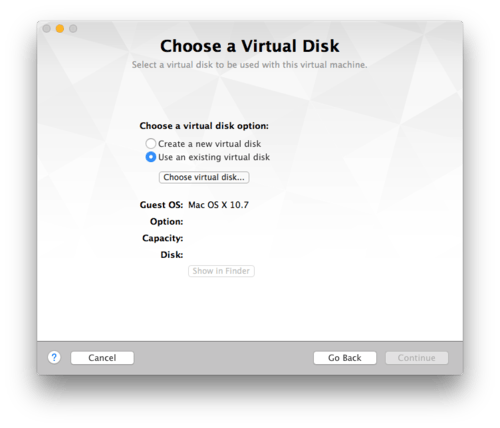
4) Select “Use an existing virtual disk” and click “chose Virtual disk…” to locate your disk image. VMware Fusion will create a dummy Virtual Machine for you to save.

5) Once created, you should see your VM’s window, select the configuration options (the wrench icon on the far left)
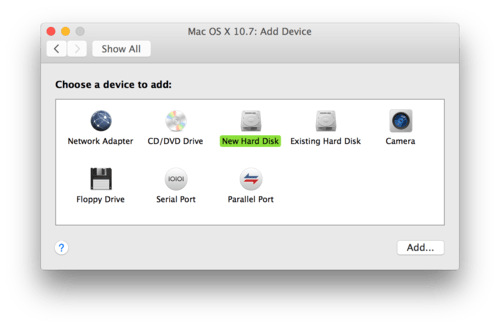
6) Select “Add Device” and then “New Hard Drive”
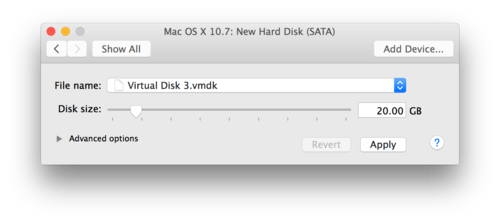
7) Configure your new hard drive disk image and confirm that its in your device list under the “Removable Devices” on your settings panel.
8) Boot the virtual machine.
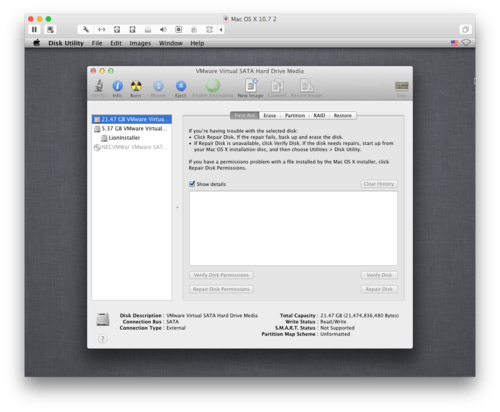
9) You’ll need need to partition your virtual machine’s space from the installer. In OS X, this is located under the Disk Utility. Click the Erase and setup up the volume with HFS+ journaled.
For other operating systems, you’ll need to use the installer’s utility to properly format the blank volume to a format compatible with the operating system in question.
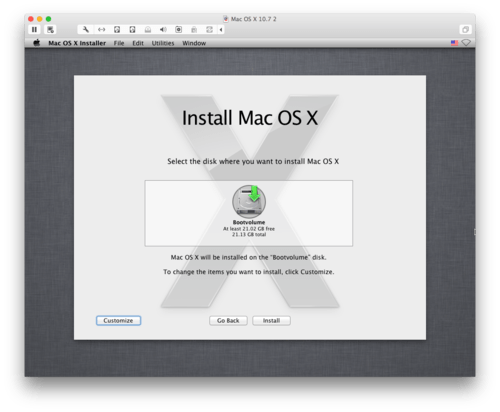
10) Now you can begin installing as you have a volume to install from!
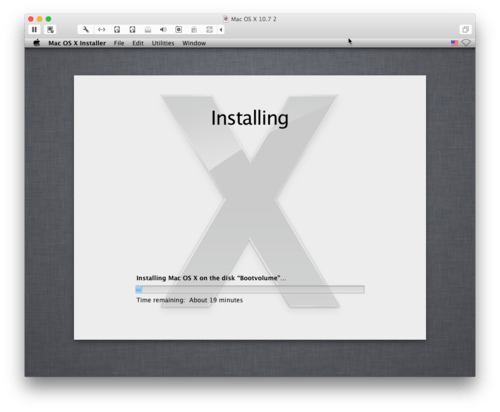
11) Wait… once installed, your VM will reboot, but will relaunch with the installer CD. You’ll need to shut down the VMware machine.
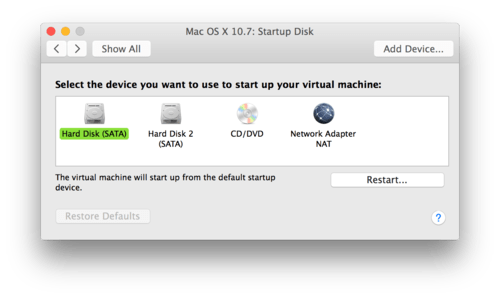
12) Go to your settings for the VM, and select the Startup Disk and select your new volume.
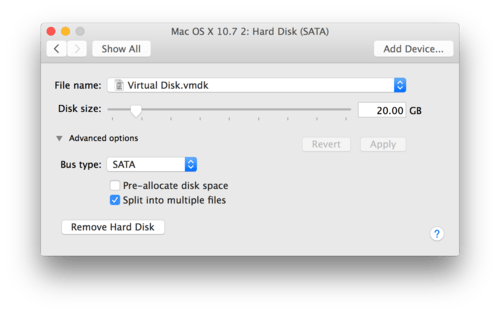
13) You’ll need to remove the Installer disk. Click on the Hard Disk, and select the advance options and select “Remove Hard Disk”
Now you should be able to boot your Virtual Machine normally and use it.